Overview
This appendix describes the steps required to create the sample applications that may be used to demonstrate Event Streams operations. These steps have already been completed in the the lab image, and are provided here for reference only.
Create the Sample Applications
The IBM Event Streams service provides several test applications that may be used to demonstrate EWvent Streams functions. The steps in this appendix assume that you are using an Xubuntu 64-bit 14.04 operating system with a graphical user interface enabled.
Complete the following steps to install the test applications.
Step 1: Install Java
-
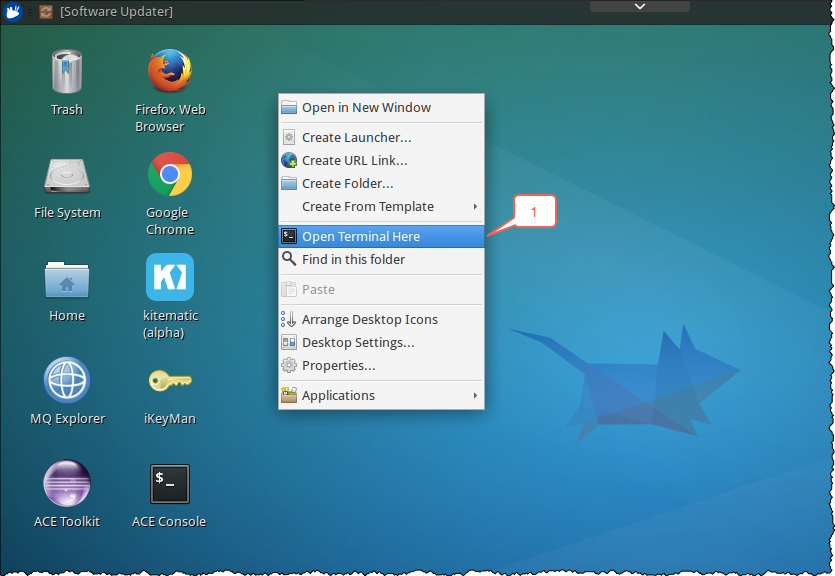
Open a terminal window from within the Xubuntu 64-bit 14.04 image.
-
The test applications are Java based. To successfully build and execute the applications you need to install a Java development toolkit (JDK) and the gradle build utility. Complete the following steps if Java has not been installed in your Ubuntu image:
-
Change to your home directory.
cd ~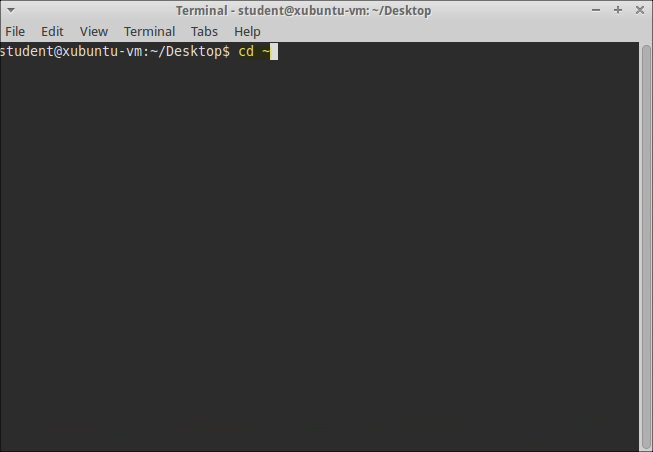
-
Enter the following command to add an apt repository that includes the JDK.
Note:
You may be prompted to use a different PPA archive. Press the ENTER key to continue with the current archive.sudo apt-add-repository ppa:webupd8team/java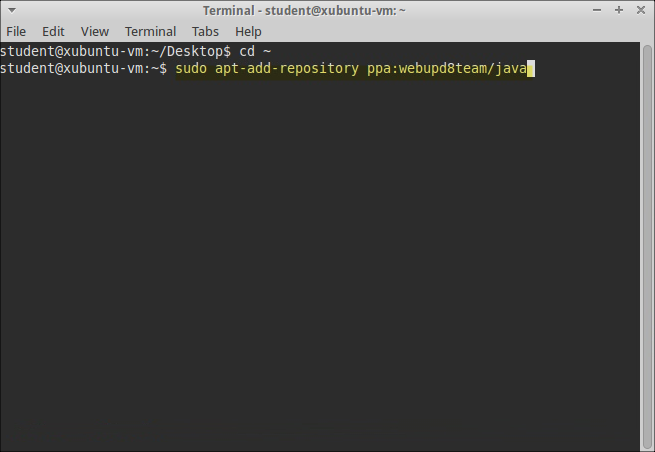
-
Enter the following commands to update the gpg protection key for Mongo (necessary to avoid an error when running the update command) as well as update the local apt repository.
 sudo apt-key adv --keyserver hkp://keyserver.ubuntu.com:80 --recv EA312927
 sudo apt-get update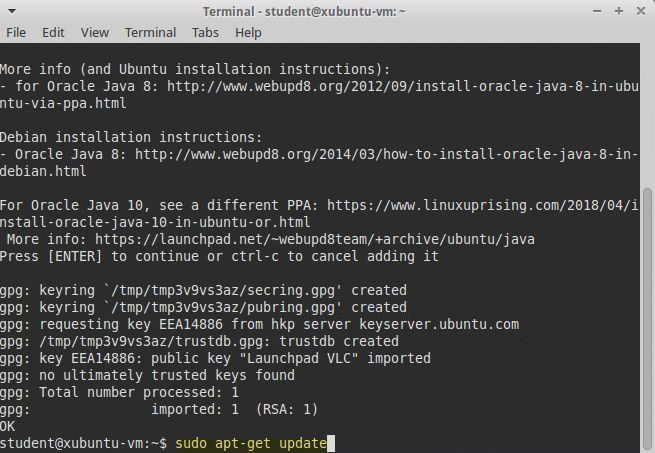
-
Enter the following command to install the JDK.
sudo apt-get install oracle-java8-installer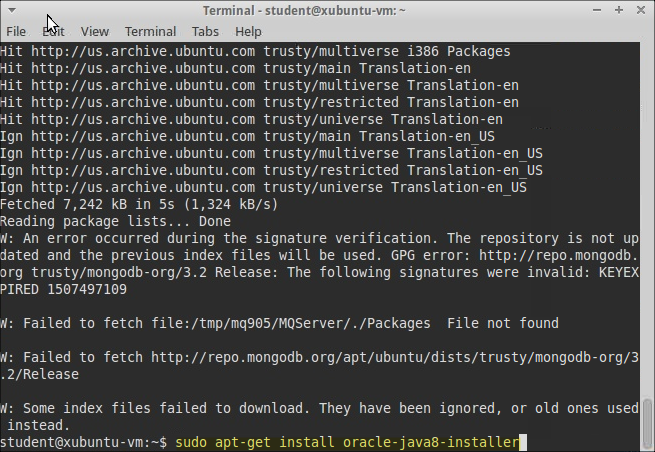
-
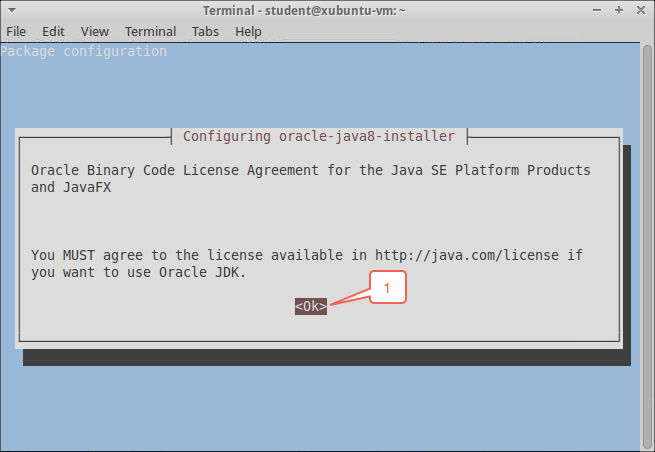
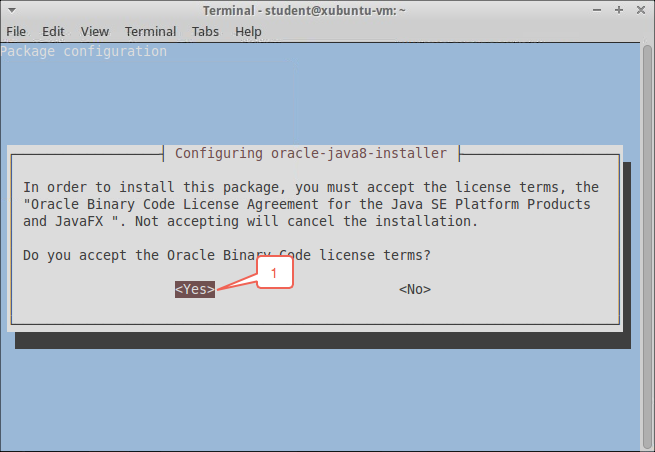
You may see several prompts to accept license agreements for Java. Accept these license agreements to continue.
-
Enter the following command once the installation has completed in order to verify that the JDK was successfully installed.
java -version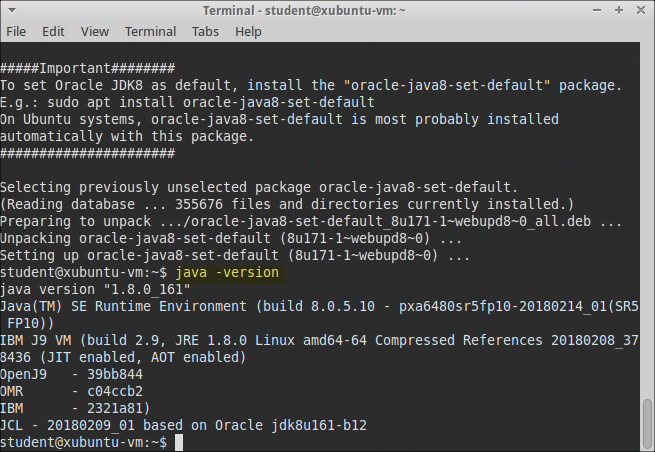
-
You must now ensure that the default Java installation is set to the downloaded version. Use the following commands to set the downloaded Java version as the default:
 sudo unlink /usr/lib/jvm/default-java
 sudo ln -s /usr/lib/jvm/java-8-oracle/ /usr/lib/jvm/default-java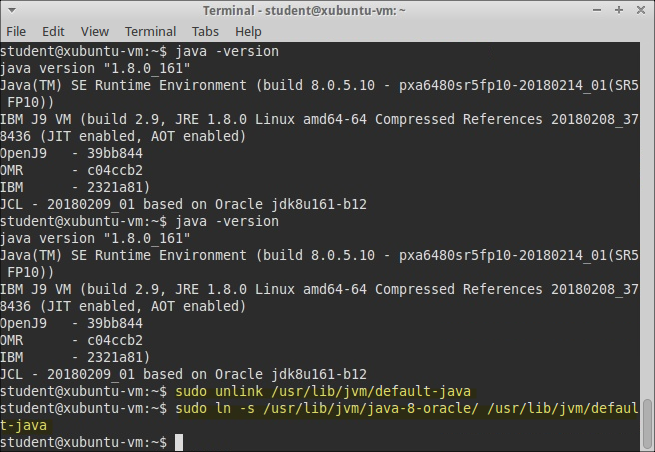
-
Step 2 Install Gradle
-
Next you will need to install the gradle build utility. Use the following command to install gradle.
sudo apt-get install gradle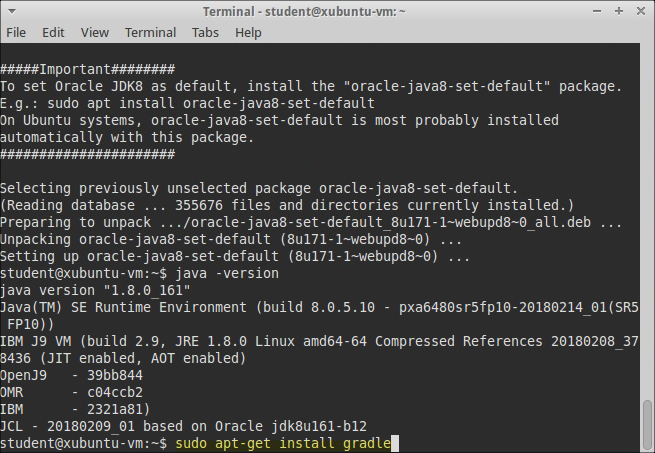
Step 3 Create the Sample Applications
-
IBM Cloud provides a github project that contains the Event Streams samples. Use the following command to download this project:
git clone https://github.com/ibm-messaging/event-streams-samples.git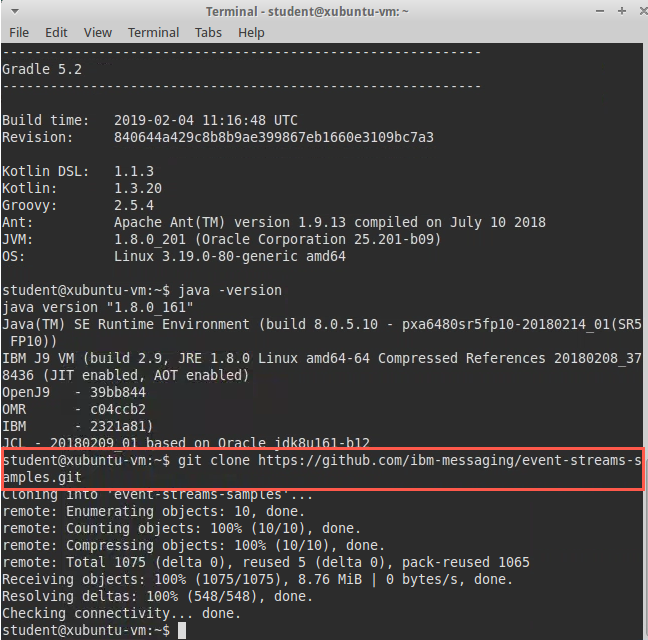
-
Next you will need to use the gradle command to build the sample project. Change to the directory that contains the downloaded project and then build the sample project using the following commands:
 cd event-streams-samples/kafka-java-console-sample/
 gradle clean && gradle build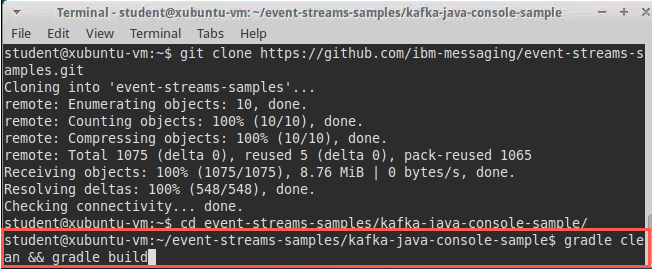
-
The Event Streams sample applications are now ready for testing. Refer to Lab 1 of the Event Streams Proof of Technology or the Event Streams documentation on IBM Cloud for information on how to use the sample applications.