Overview - MQ on CP4I PoT
This guide and associated standard Virtual Desktop Instance (VDI) help you get started with IBM MQ on IBM Cloud Pak for Integration (CP4I). This is not a primer for MQ basics. The intent is to show how to create and operate MQ queue managers on IBM Cloud Pak for Integration running on a Red Hat OpenShift cluster.
You will learn how to create a simple queue manager, a multi-instance queue manager for high availability, an MQ cluster using the latest MQ feature Uniform Clusters, native high availability (nativeHA), and using a Tekton pipeline to make updates to a queue manager for continuous integration.
For the MQ on CP4I PoT, multiple users will create each of the above sharing one CP4I on a single Red Hat OpenShift cluster.
Names used in lab
| student number | QM prefix | Lab 1 QM Name | Lab 2 QM Name | Lab 3 QM Names | Lab 4 QM Name | Lab 5 QM Name | Lab 6 QM Name |
|---|---|---|---|---|---|---|---|
| 01 | mq01 | mq01qs | mq01mi | mq01a, b, c | mq01pl | mq01ha | mq01strm |
| 02 | mq02 | mq02qs | mq02mi | mq02a, b, c | mq02pl | mq02ha | mq02strm |
| 03 | mq03 | mq03qs | mq03mi | mq03a, b, c | mq03pl | mq03ha | mq02strm |
| 04 | mq04 | mq04qs | mq04mi | mq04a, b, c | mq04pl | mq04ha | mq02strm |
| 05 | mq05 | mq05qs | mq05mi | mq05a, b, c | mq05pl | mq05ha | mq02strm |
| xx… | mqxx… | mqxxqs… | mqxxmi… | mqxxa, b, c… | mqxxpl… | mqxxha… | mqxxstrm… |
Setup instructions
PoT Student instructions
The PoT coordinator will send you an email with your student number and links to a VDI Linux desktop to be used for accsssing the CP4I cluster and executing the lab instructions.
Once you have received your email and have the required information navigate to the environment setup: Environment Setup
IBM only - setup instructions
IBM PoT coordinator instructions
If you are an IBM employee setting up an environment for a PoT or creating your own ROKS environment for testing follow the instructions in Environment Setup.
For running a PoT, it is recommended to reserve a Center of Competency (CoC) Red Hat Openshift Container Platform (OCP) cluster. The CoC has pre-provisioned clusters for development, demos, and PoTs. There is no setup to be done for running on the CoC clusters other than making a reservation. You can reserve a cluster online at: CoC Clusters
Or contact the CoC through Slack channel # coc-support-for-cp4i.
Provision VDIs
You can use your own desktop to connect to the OCP. But it would be better to provision a Virtual Desktop Instance (VDI) which has the artifacts for running the MQ on CP4I labs. If you are running a PoT, it will be up to you to provision the VDIs for the students and send them the VDI details in an email.
-
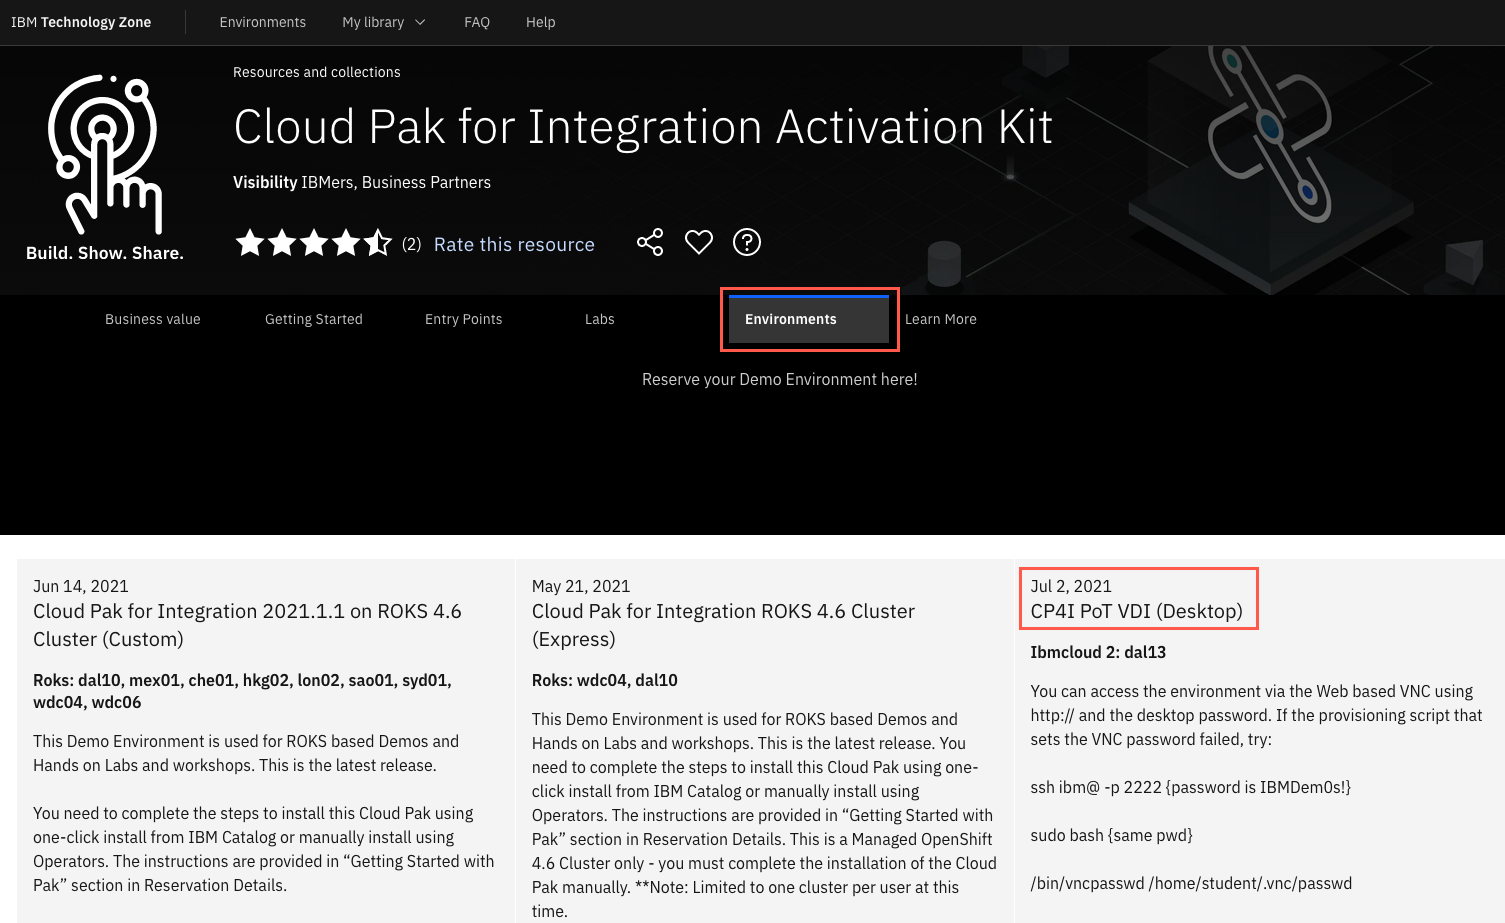
Navigate to IBM TechZone Asset Repo. If not signed-in, sign-in with your IBM ID. Click Environments. Select CP4I PoT VDI (Desktop).
-
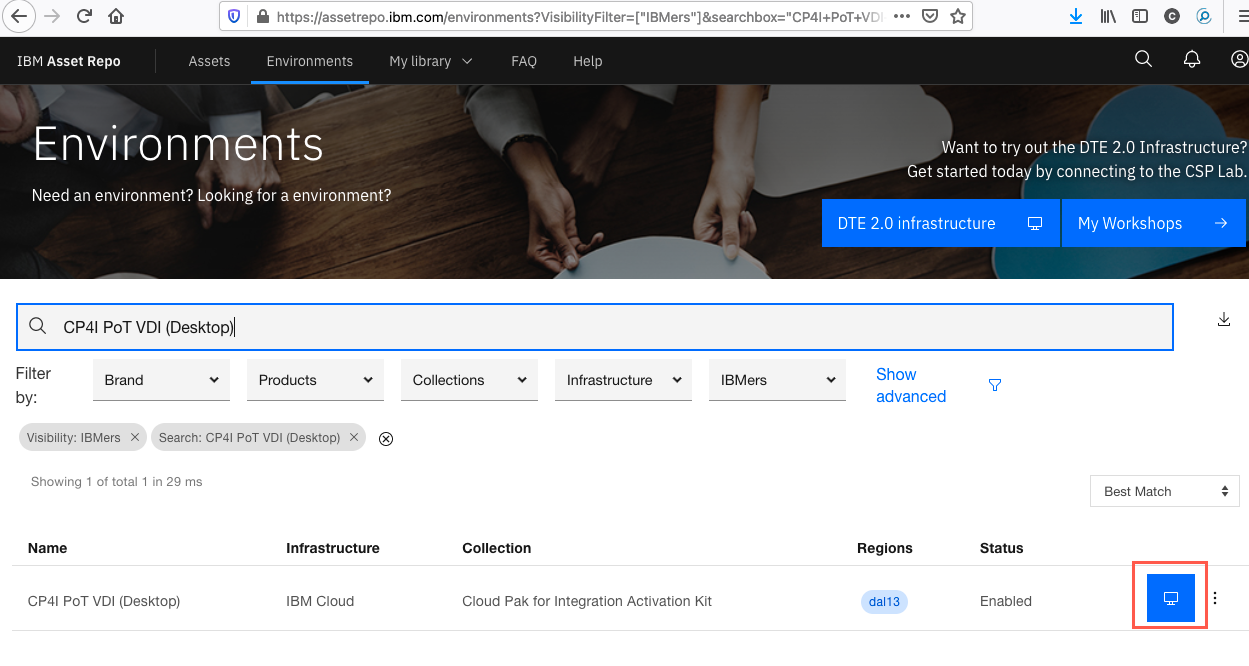
Click the desktop icon to move to the Reserve page.
-
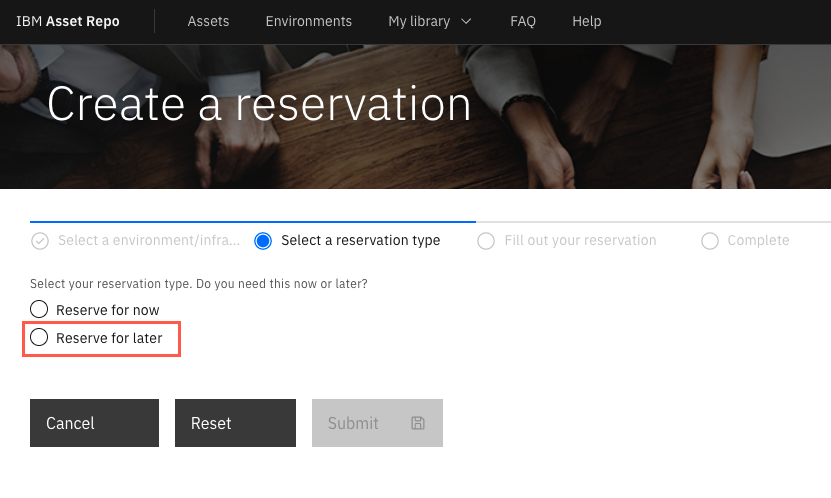
Click the Reserve for later radio button.
-
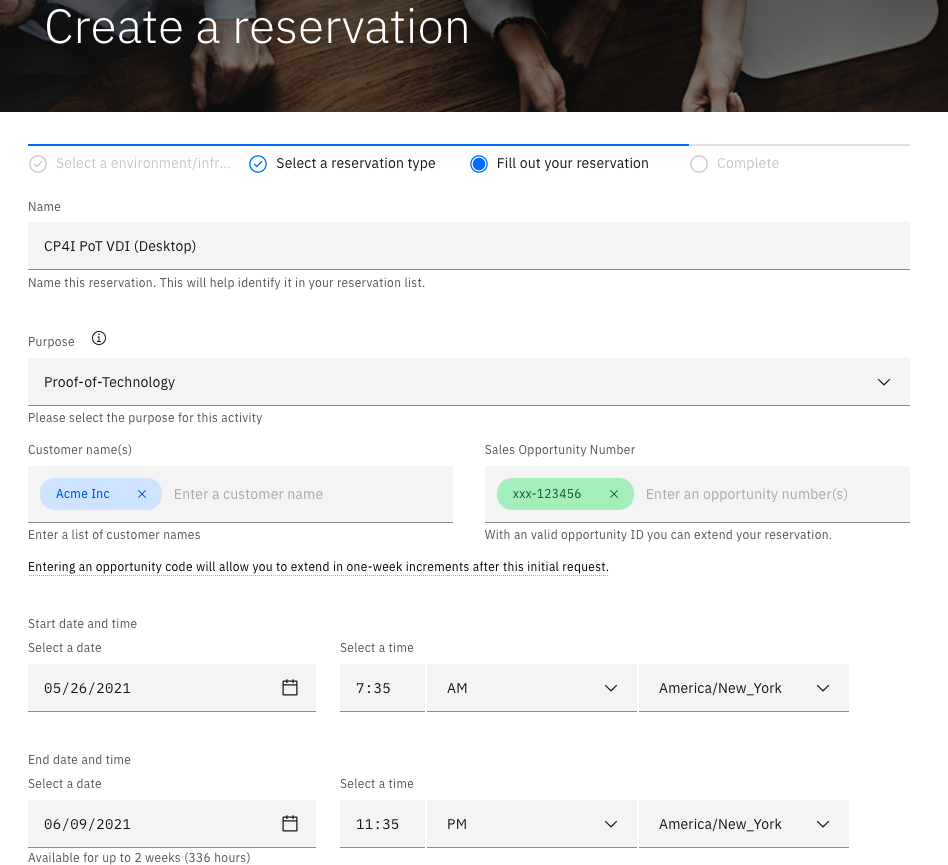
The Create a reservation page where you will fill out the reservation details. Click the drop-down for Purpose and select the appropriate one. If prompted, enter a ISC Opportunity number if you have one. Under Start date and time and End date and time, change the date and time to provide enough time to complete the labs (maximum is two weeks) and click the drop-down to select your time zone. Click the drop-down for Preferred Geography and select one close to your location. Scroll down and click Submit.
-
You are notified that your reservation is successful.
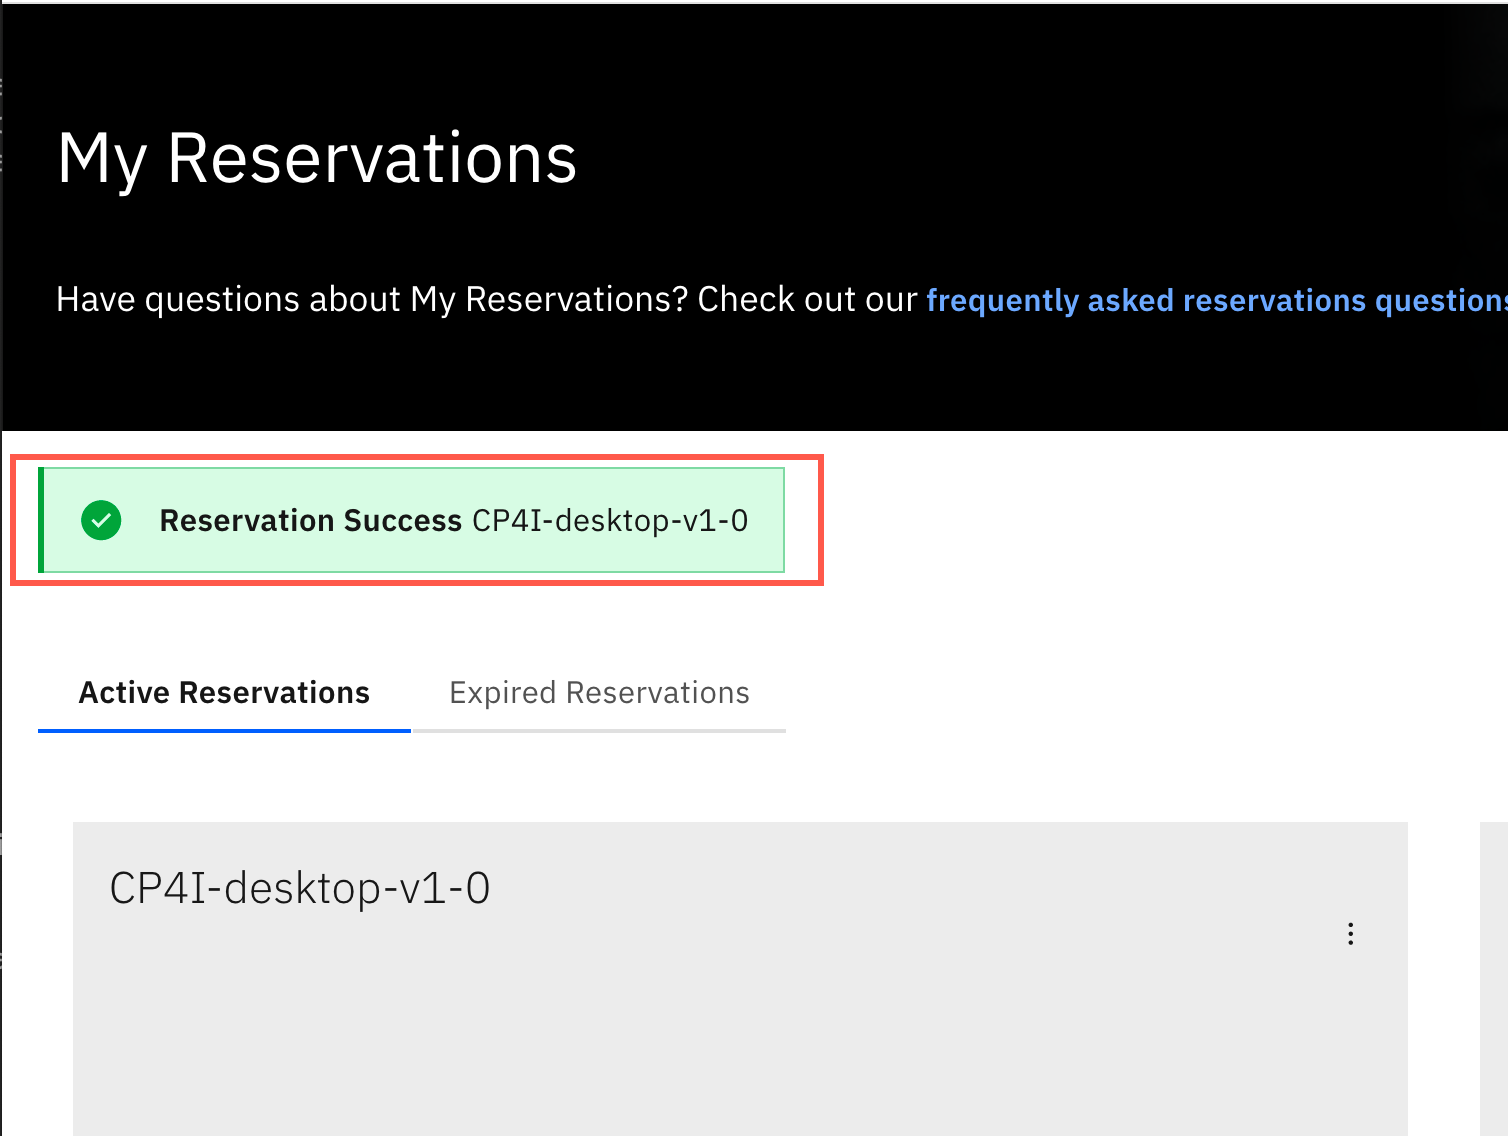
-
Click My Reservations to see the VDIs you have provisioned. It will be displayed in green with a status of Scheduled.
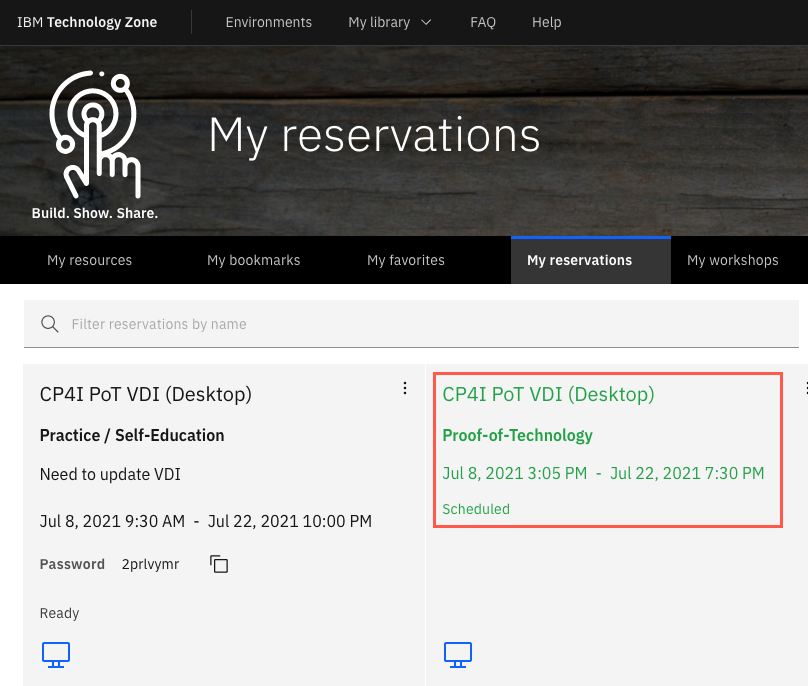
-
Once the provisioning of the desktop begins, the status will show Provisioning and the display will be greyed out. At this time you will receive an email that the environment is being provisioned.
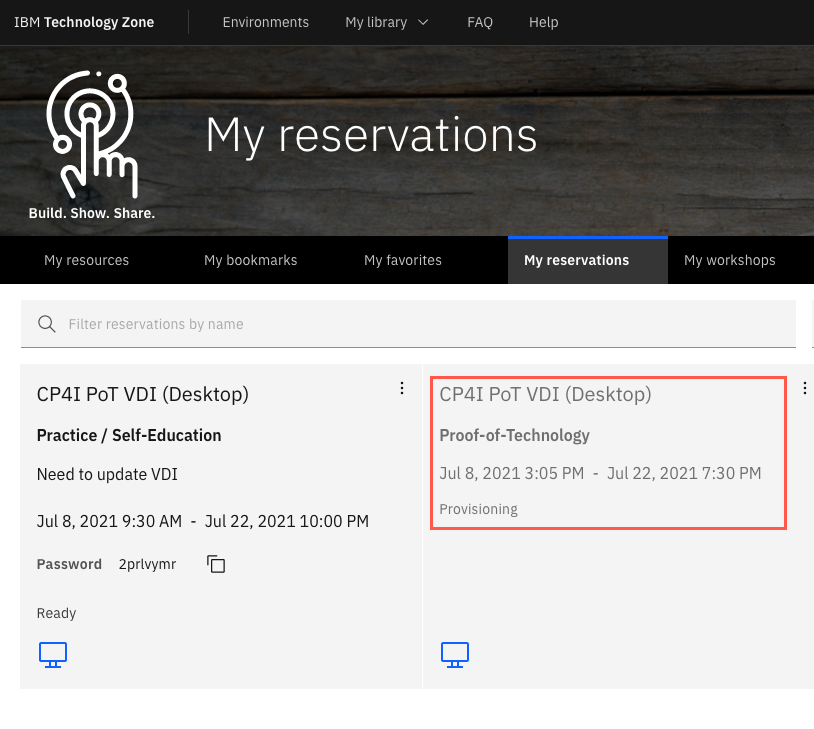
-
It will take 10 - 15 minutes to provision the VDI. This is why the provisioning must be done prior to the start of the PoT.
When the provisioning is complete, the status in the tile will turn turn to Ready.
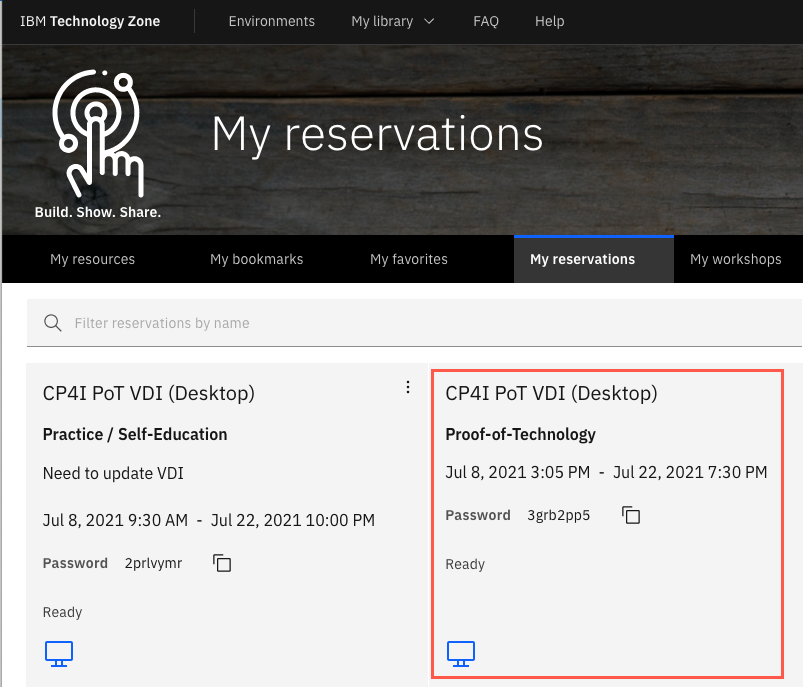
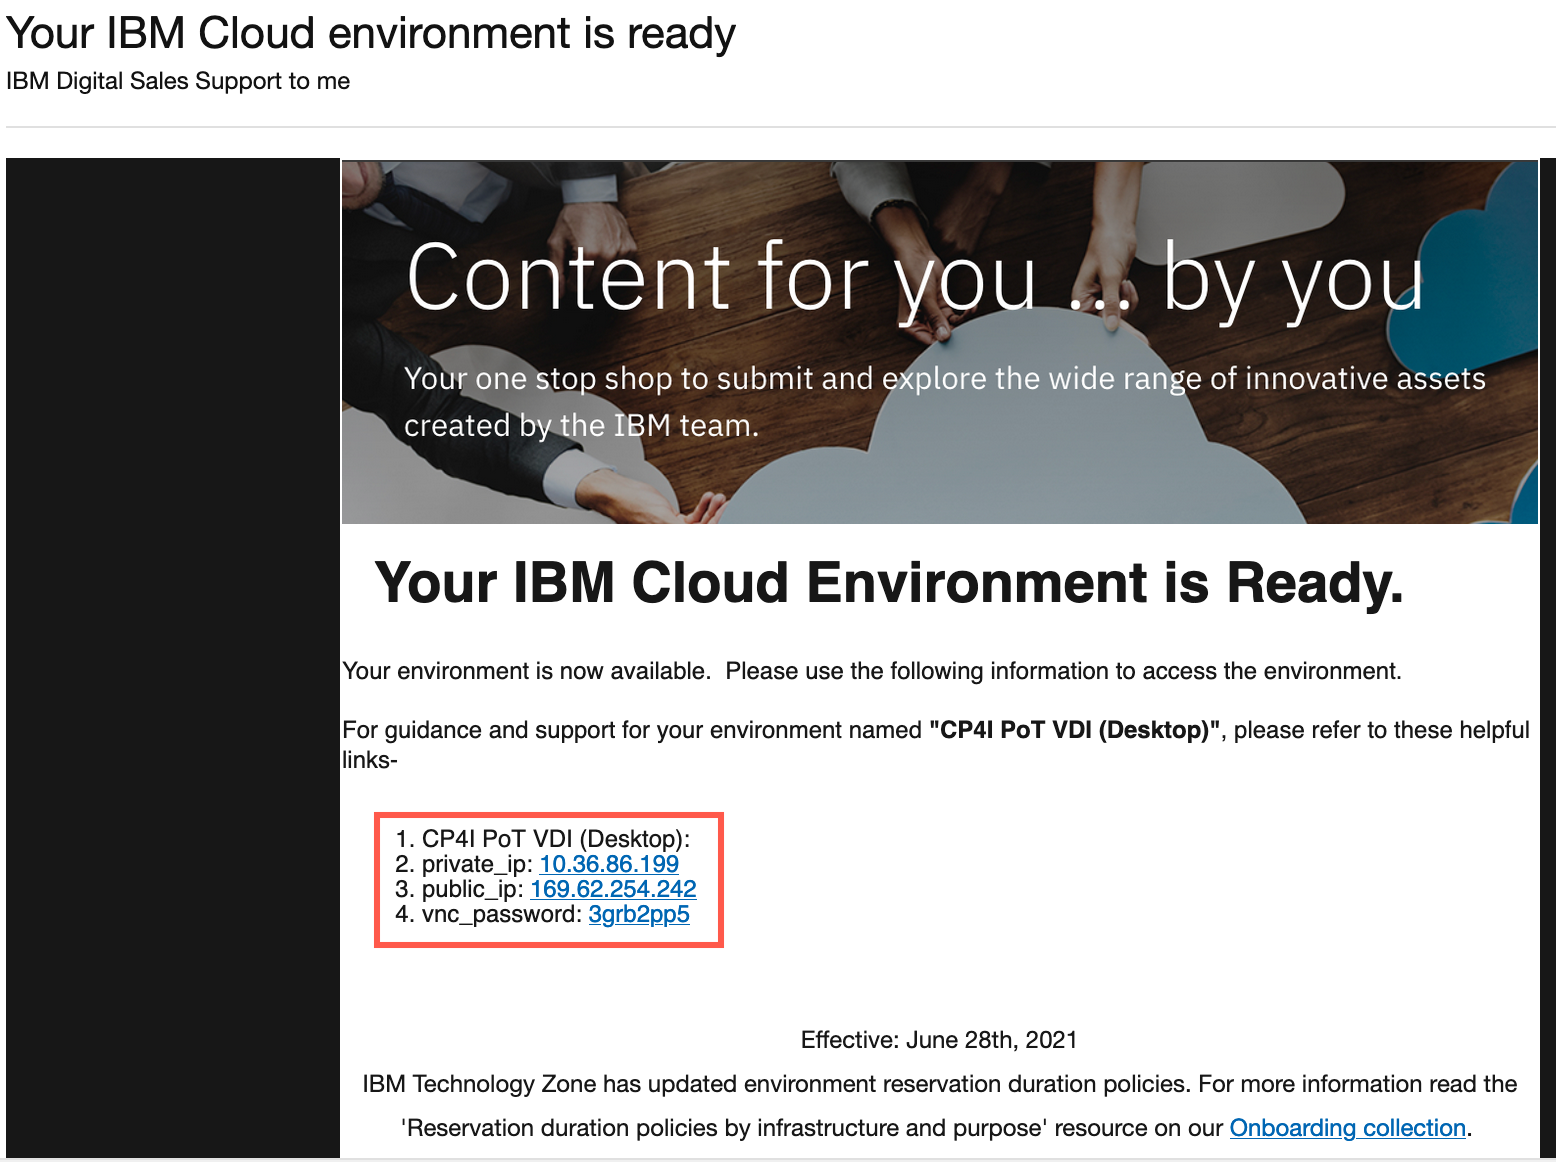
You will receive another email informing you that it is ready and will include the details to connect. Copy the password and click the Public IP address hyperlink in the email.
 Note:
Note:
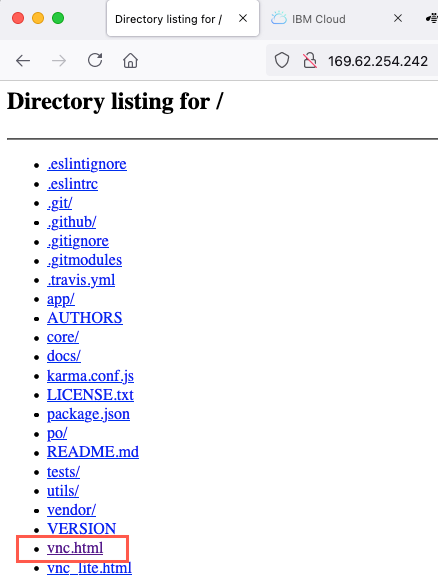
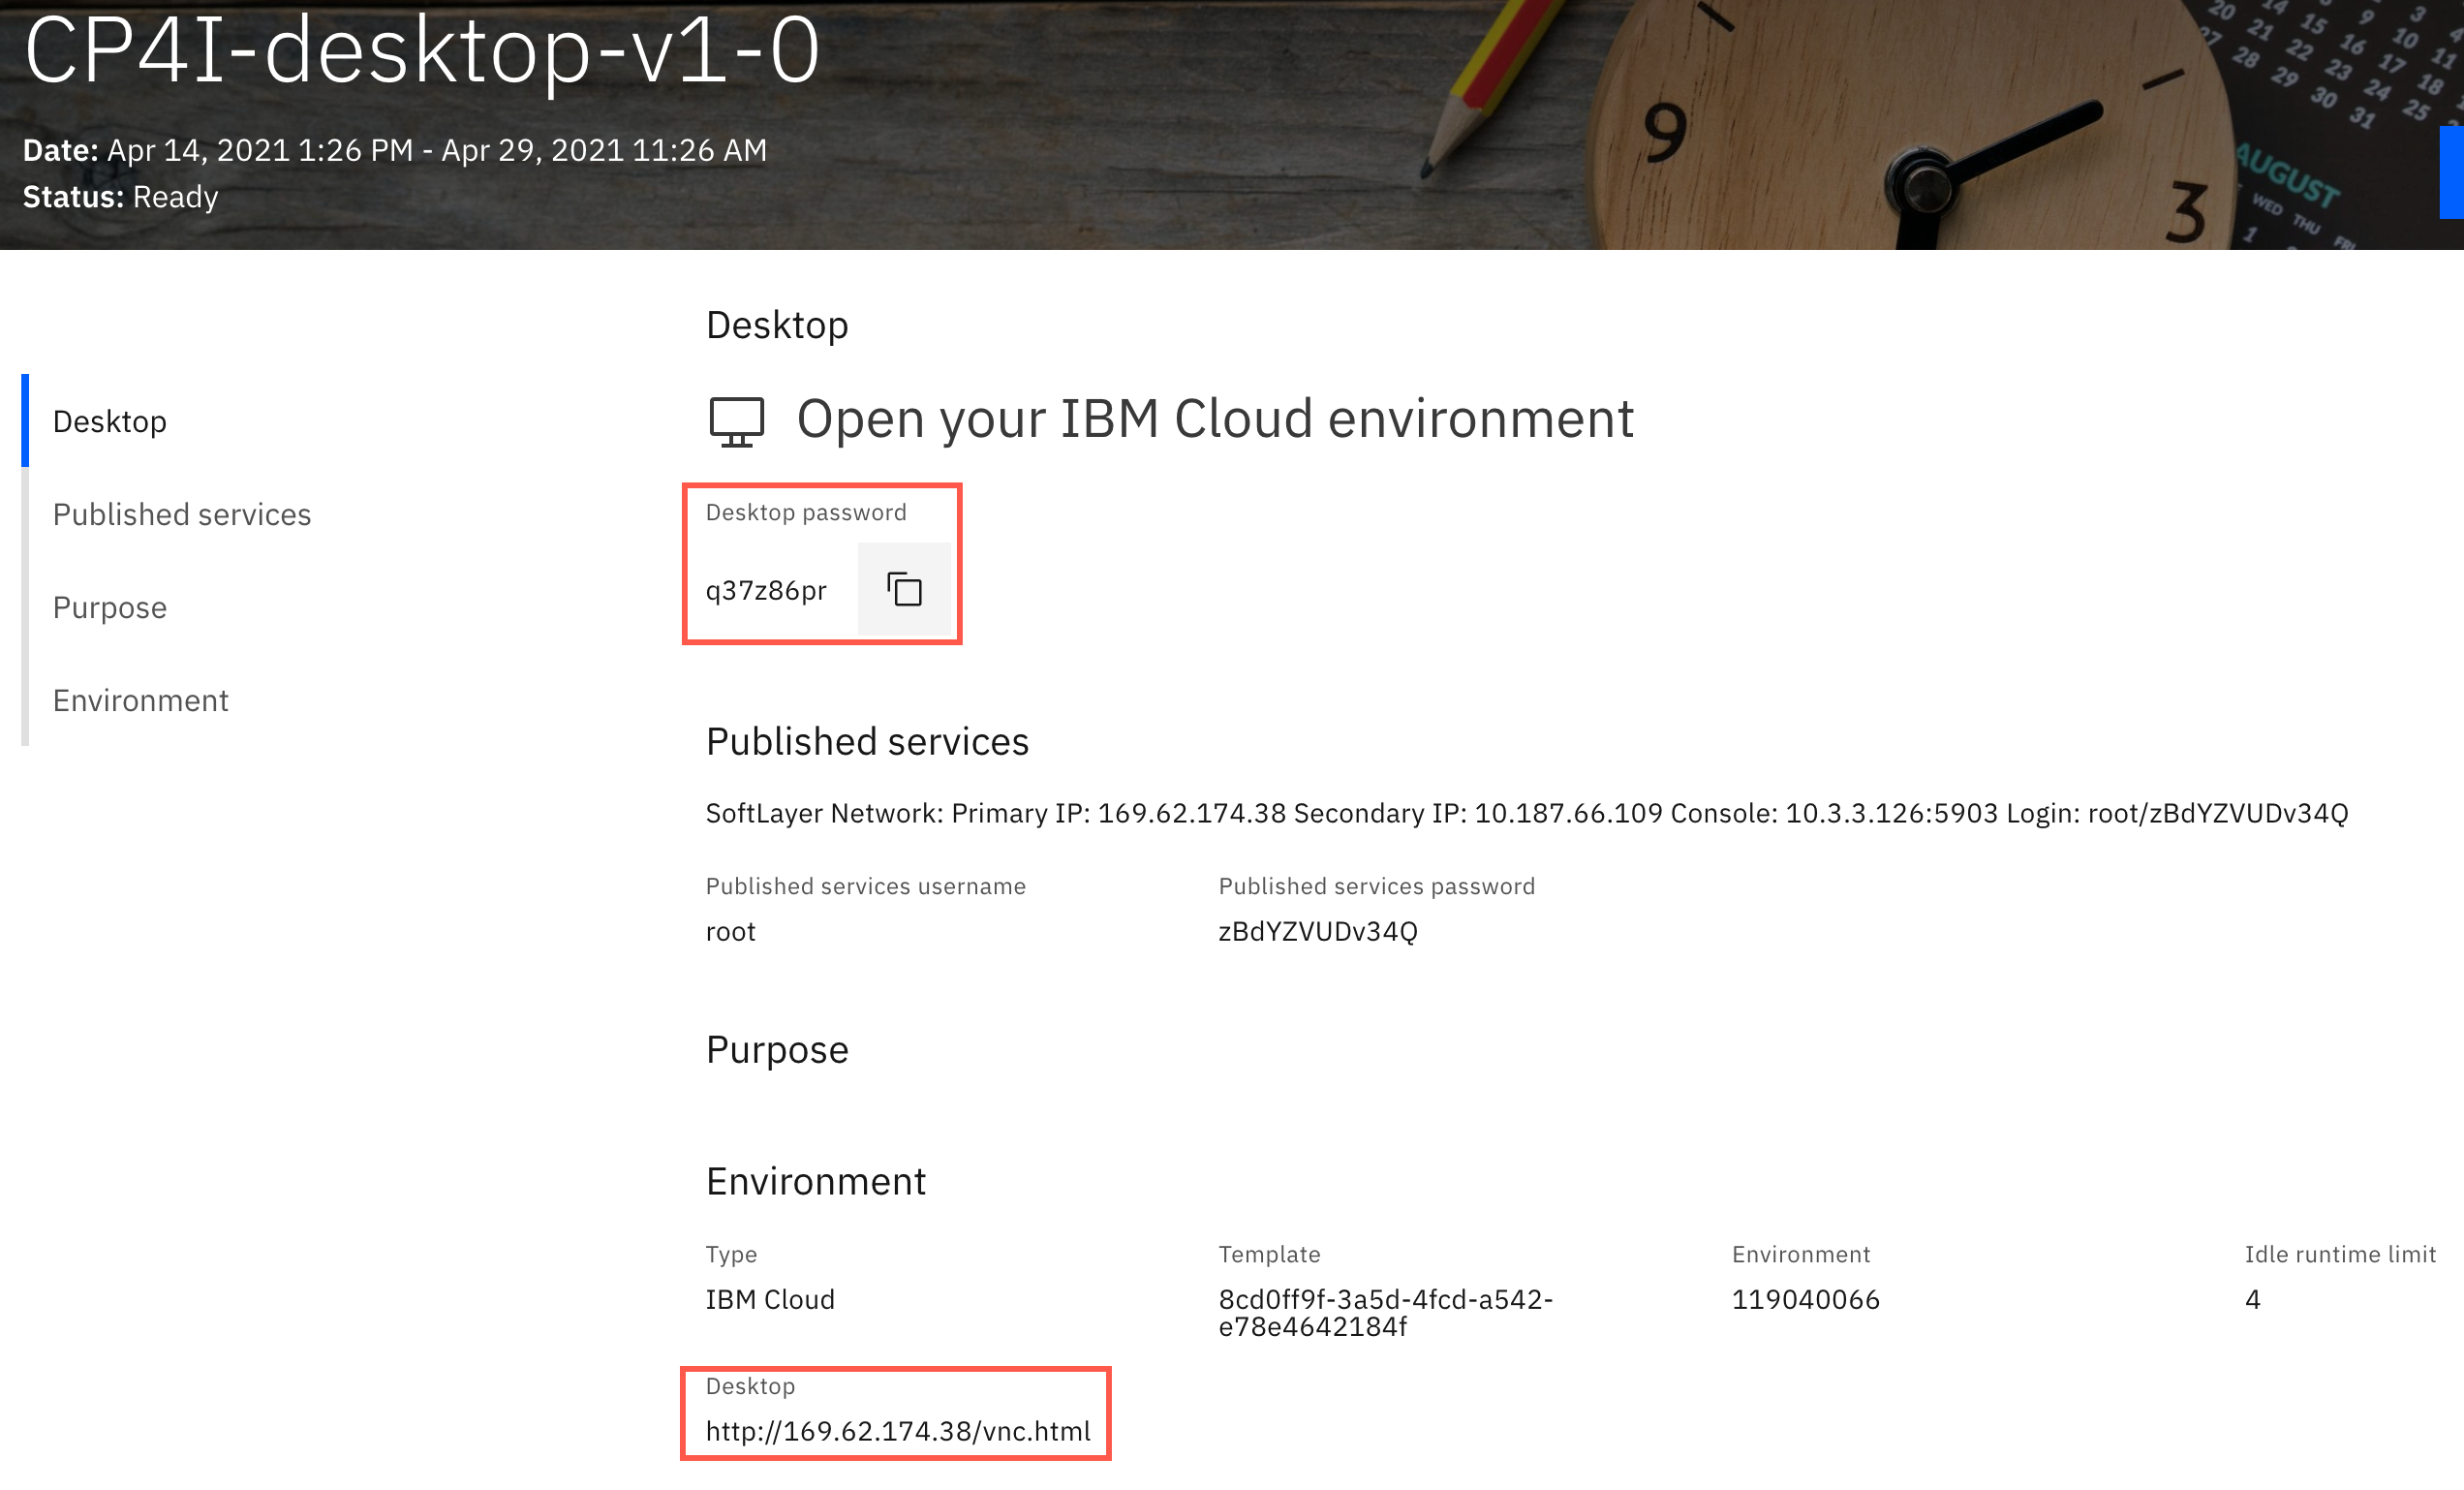
You can click the tile in the My Reservations display to get the details of your environment. This will also show the Public IP address but may not be a hyperlink. The password is included for the student userid.The the public IP is a diretory listing for the environment. Click the vnc.html hyperlink.
-
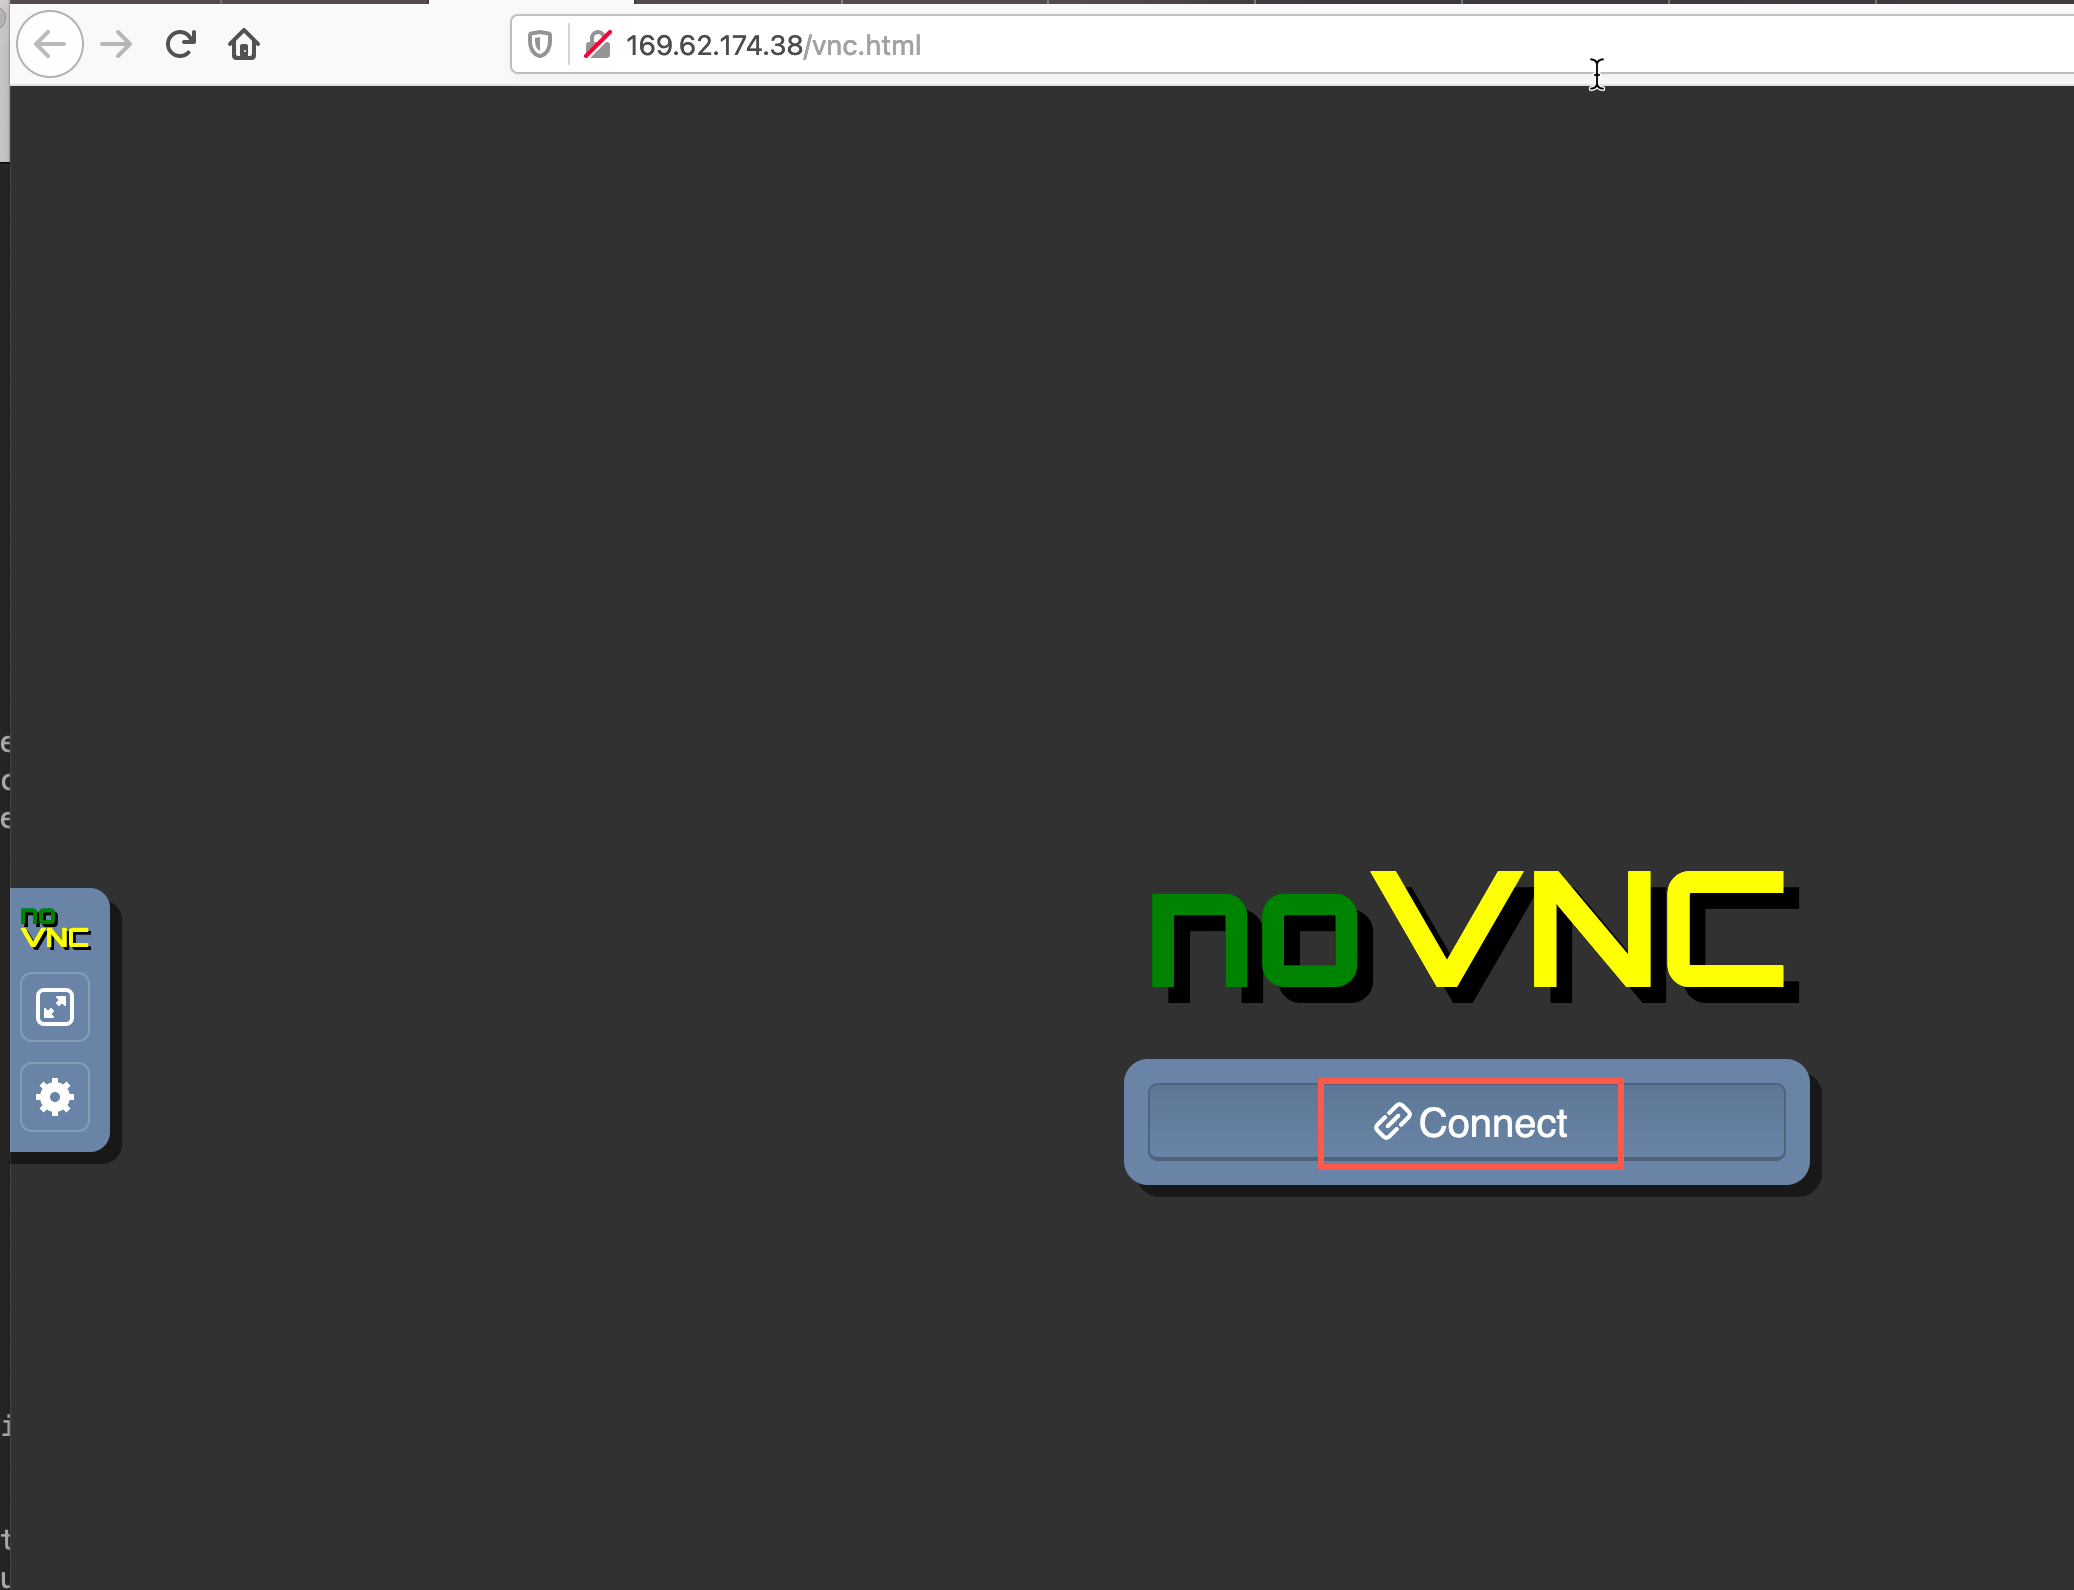
The VNC window appears. Click Connect.
-
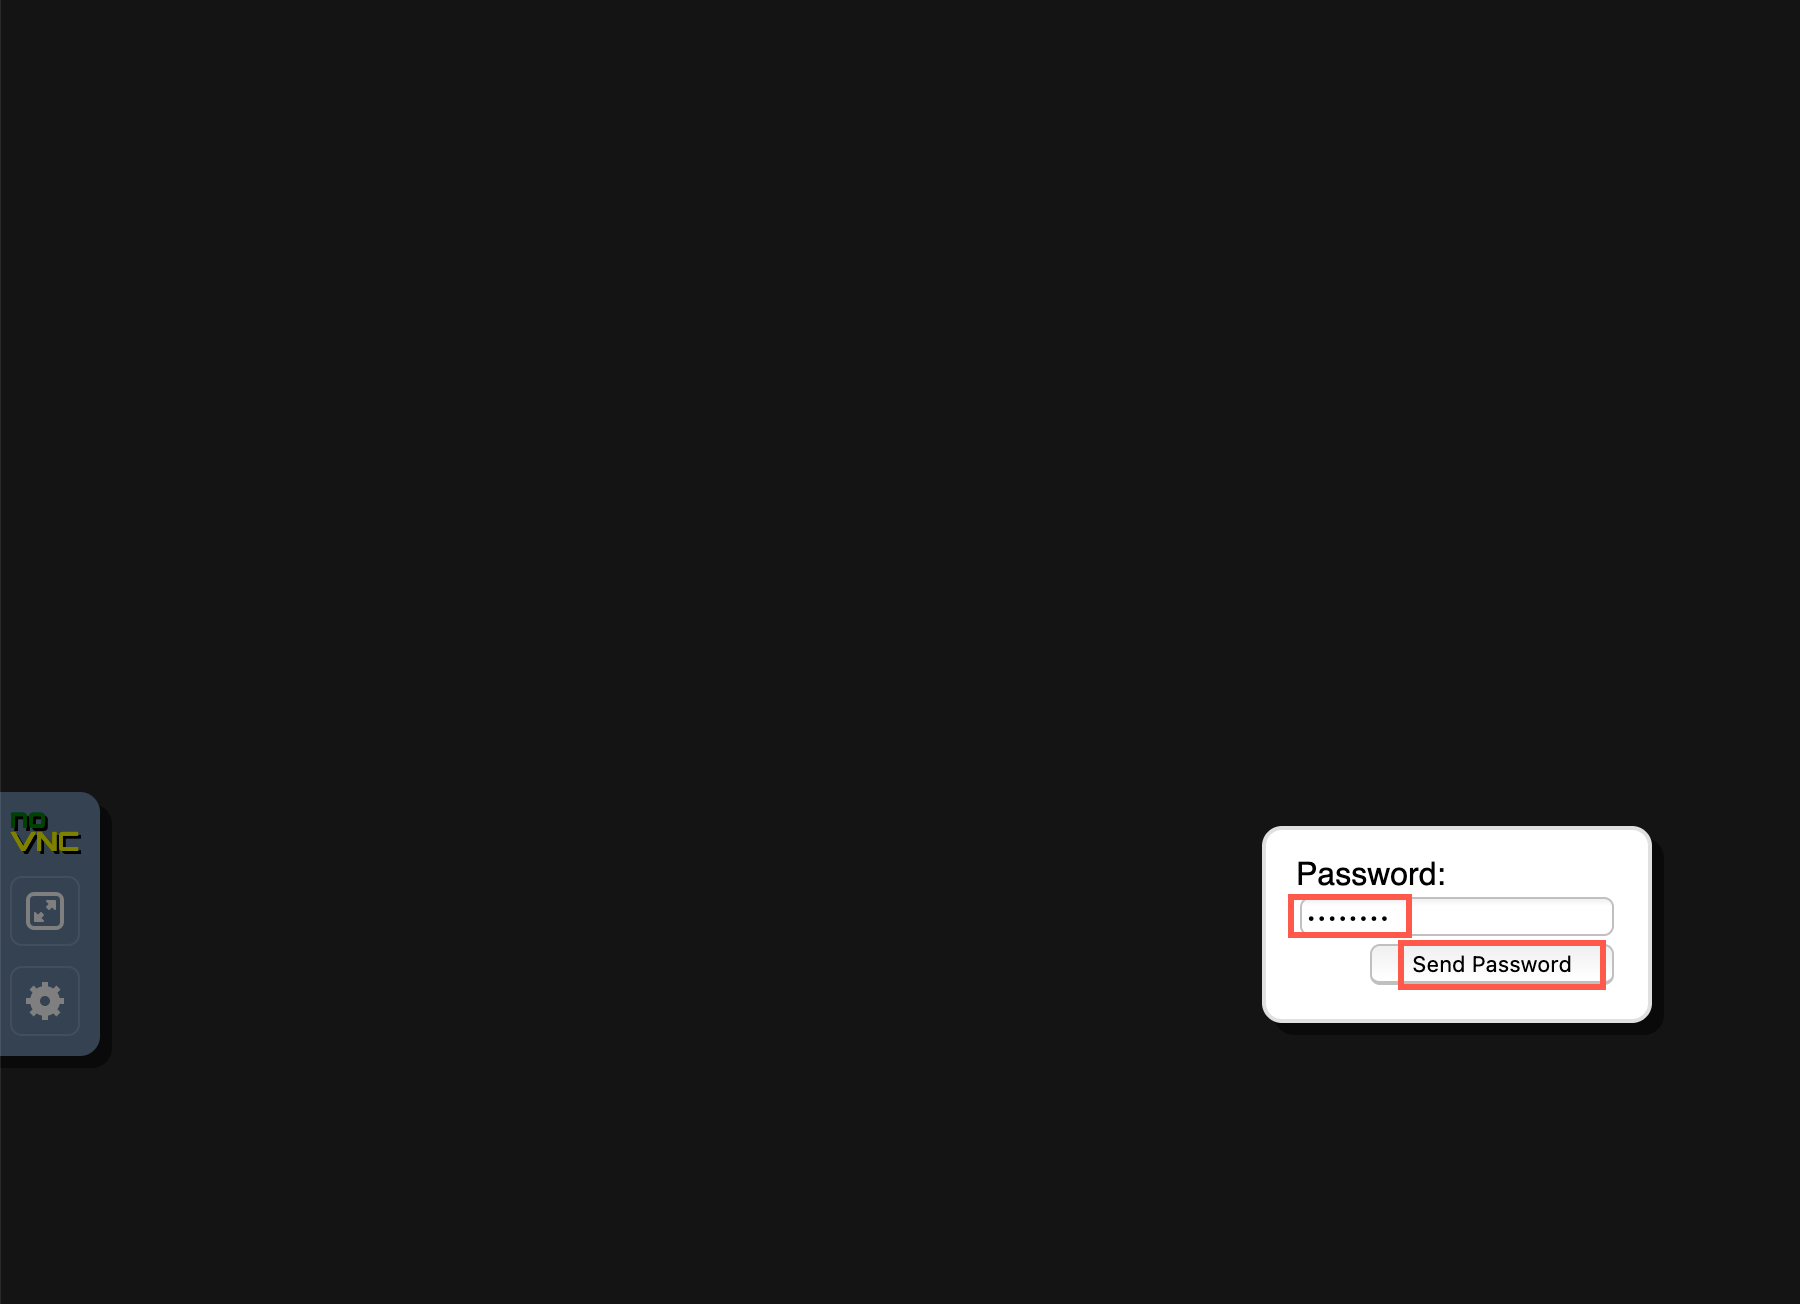
Enter (or paste) the password included in the details then click Send Password.
-
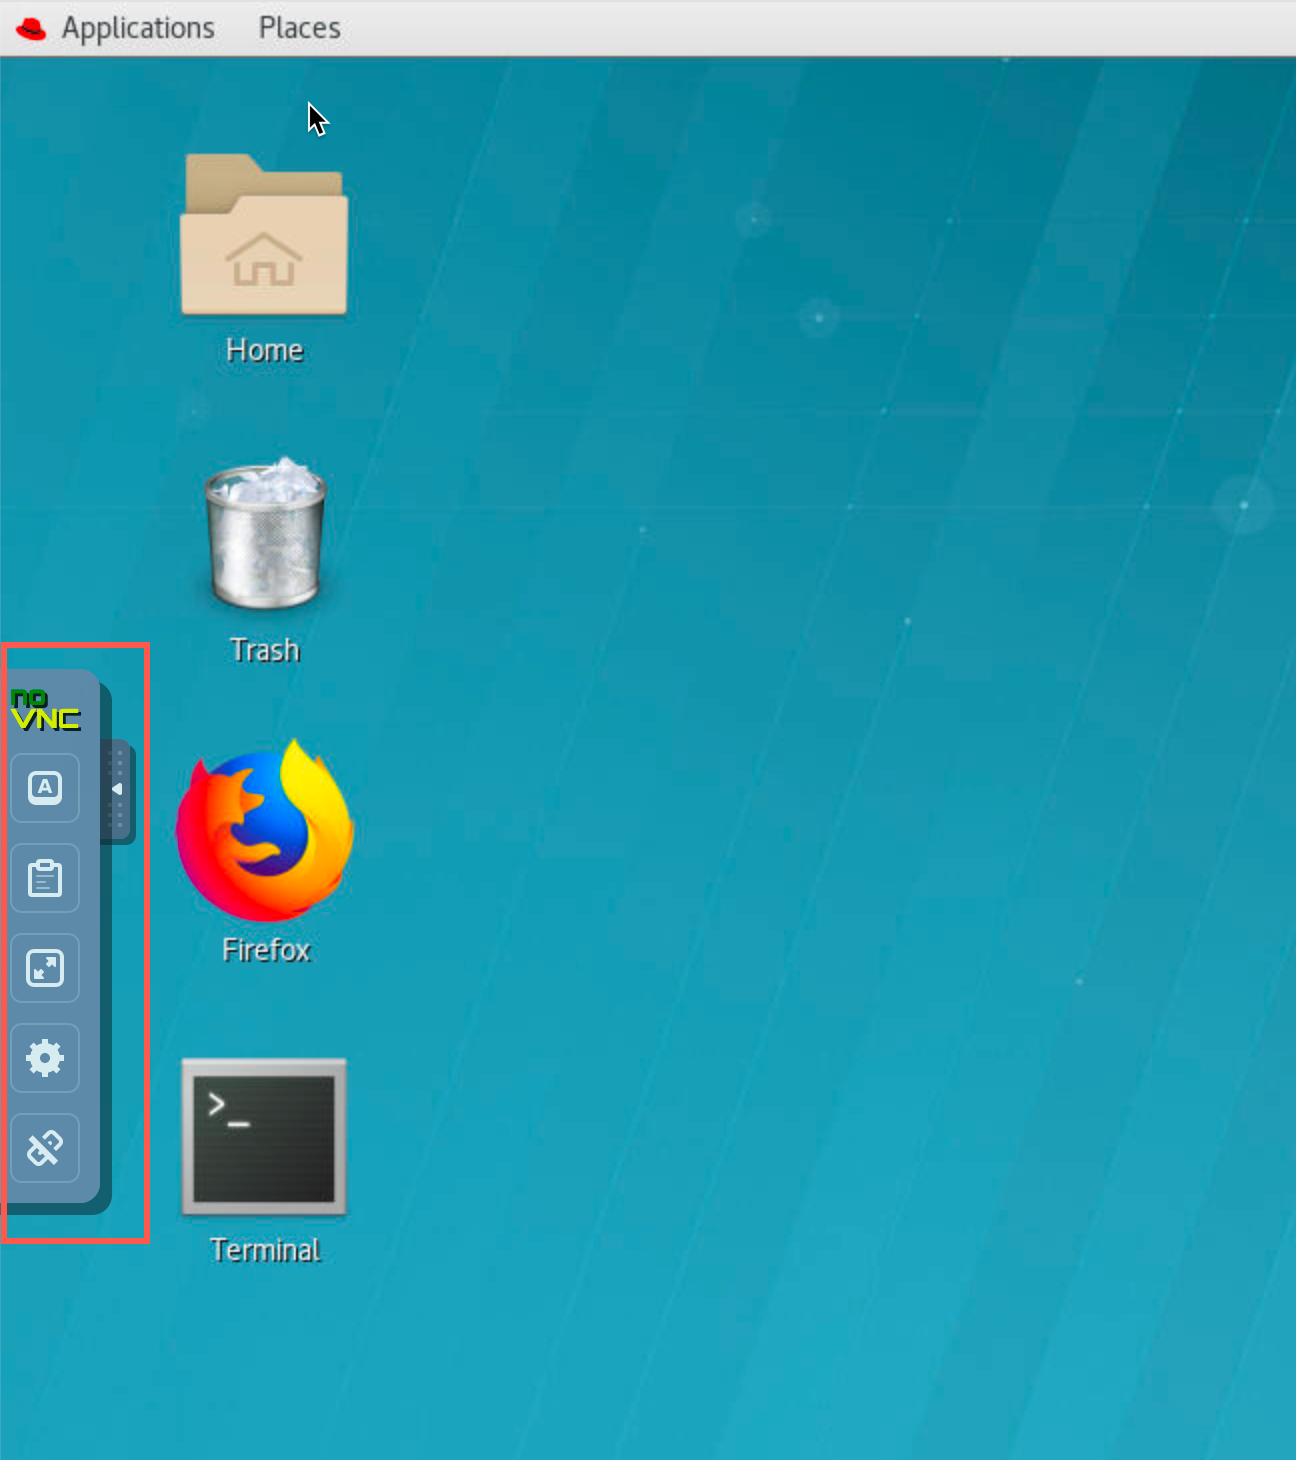
The Linux desktop appears. You are now logged in as student. You’ll notice the toolbar on the left. This is used to control the VNC settings. You will use it mostly for copy/paste from outside the VNC desktop. You can hide the toolbar by clicking the arrow on the side of the toolbar.
Send URLs to student attendees
-
Once the VDIs are provisioned, you must notify each attendee prior to the start of the PoT. Copy the details of the VDI reservation and include in an email to the attendee. Below is a sample details page.
End of PoT overview and setup
You are now ready to setup for the labs.