Aspera-pot
Installing Aspera High Speed Transfer Server on Desktop
Return to Aspera Installation labs page
Table of Contents
- 1. Overview
- 2. Download Aspera High Speed Transfer Server
- 3. Installing HSTS on MAC
- 4. Install license
- 5. Running HSTS Application
- 6. Upload File
- 7. Summary
1. Overview
This lab session will cover the process of installing and utilizing the IBM Aspera High Speed Transfer Server (HSTS) on your MAC. A similar procedure can be applied to install IBM Aspera HSTS on a Windows Desktop.
2. Downloading Aspera High Speed Transfer Server (HSTS)
To download IBM Aspera High Speed Transfer Server Click here
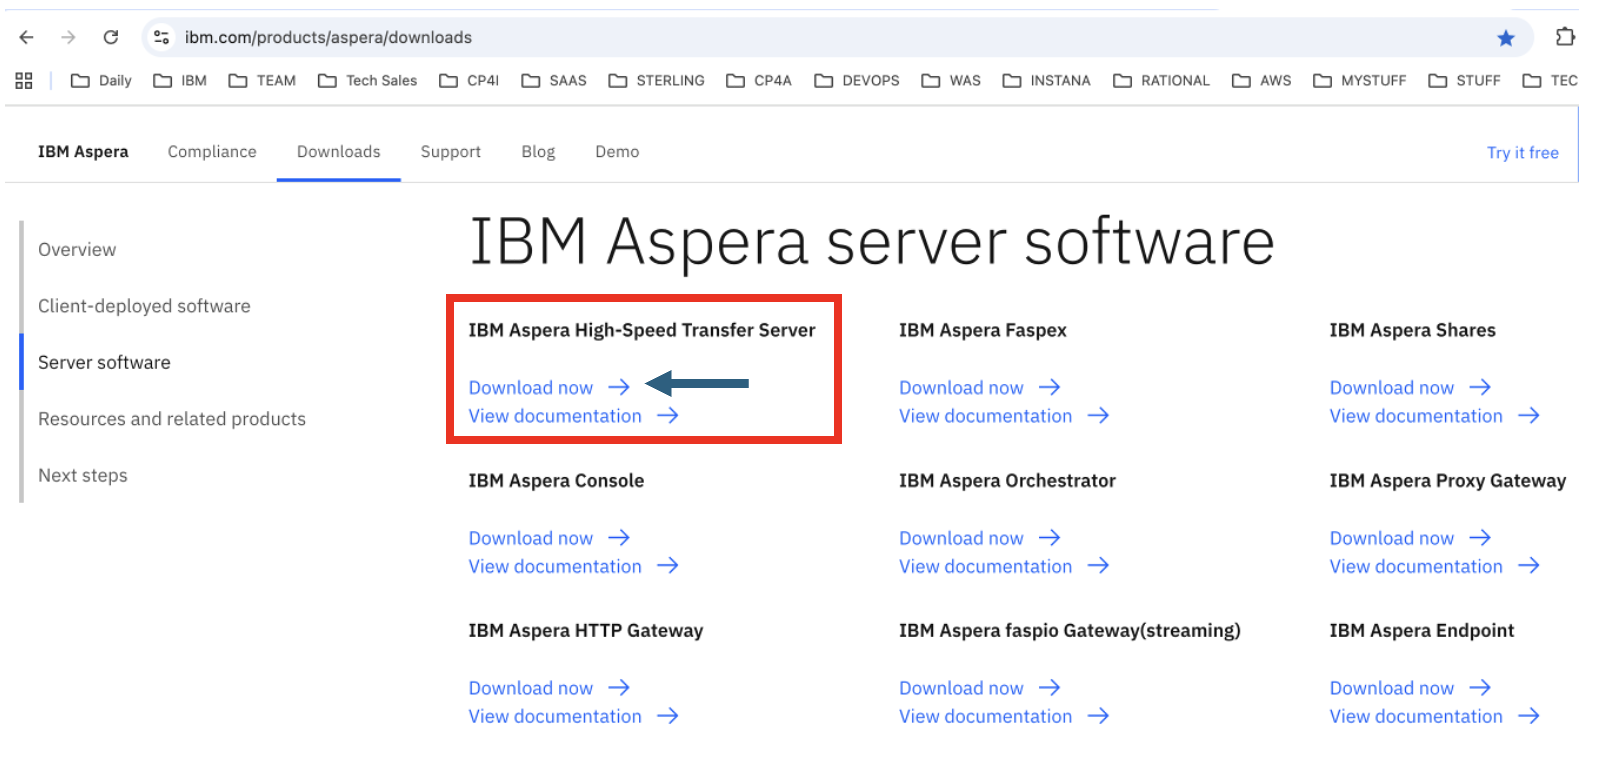
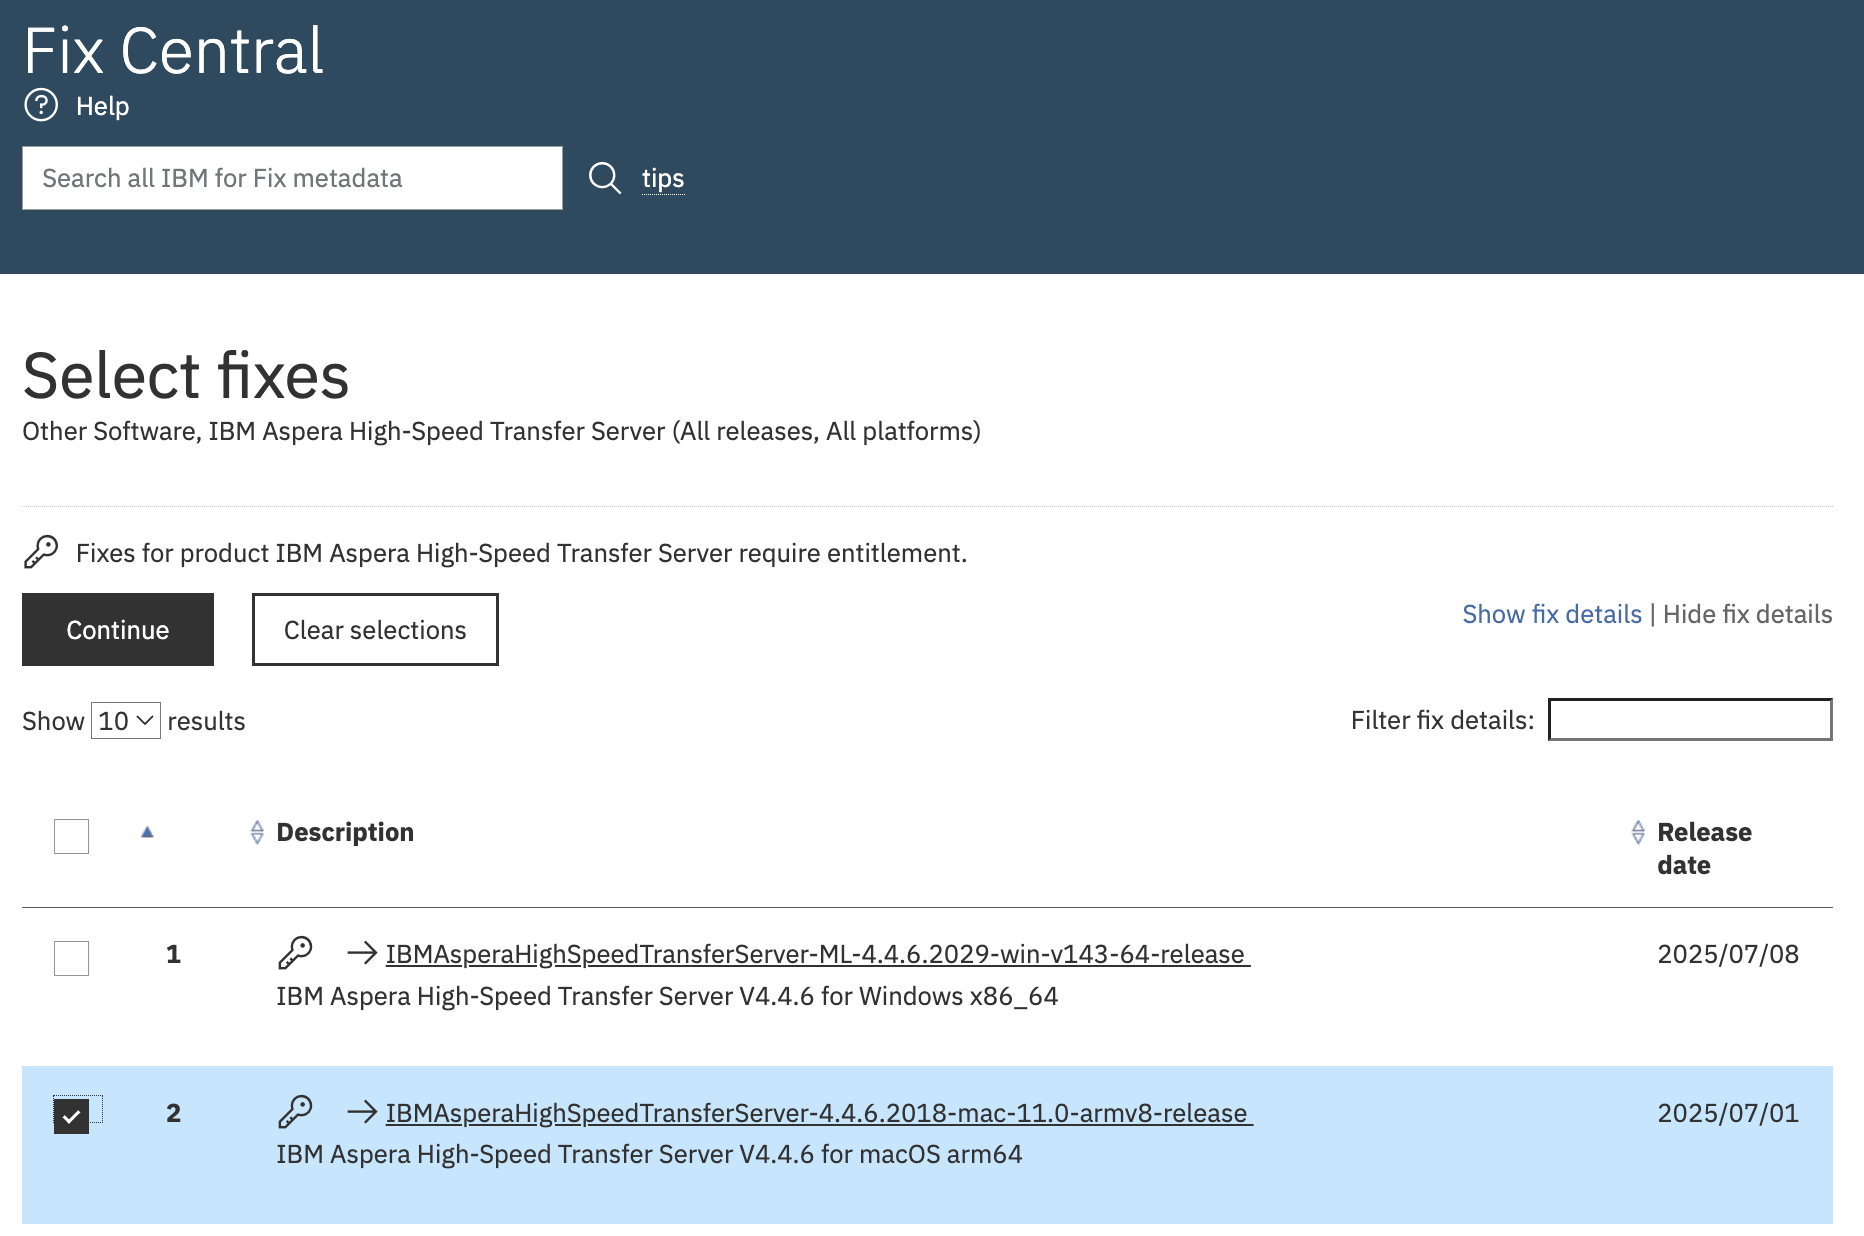
Logon using your IBM ID, and download the software.
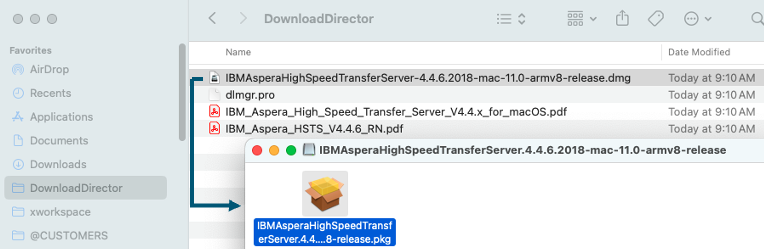
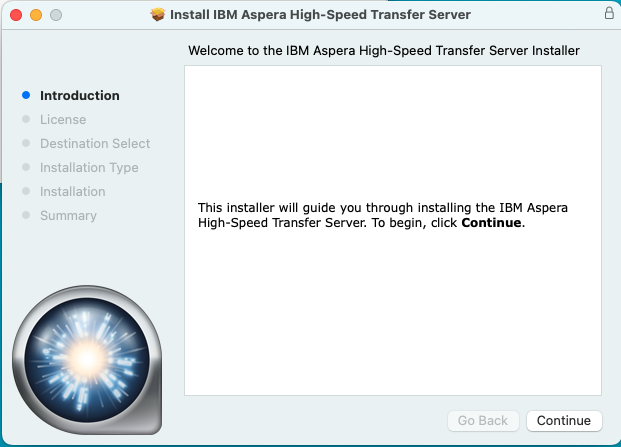
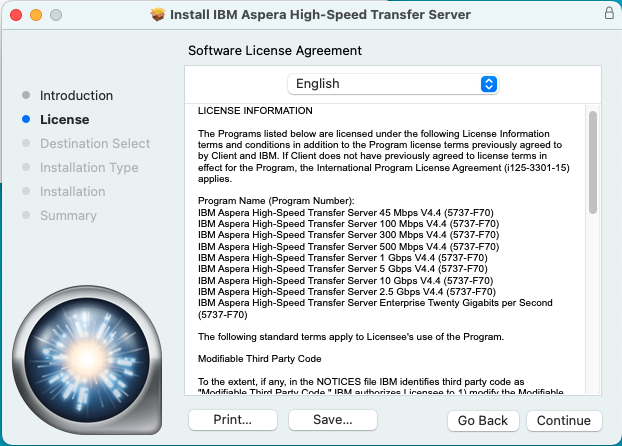
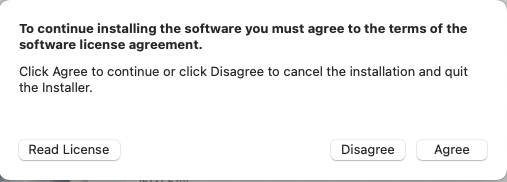
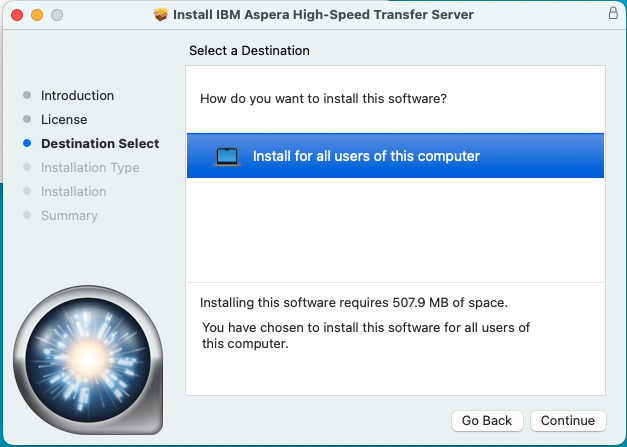
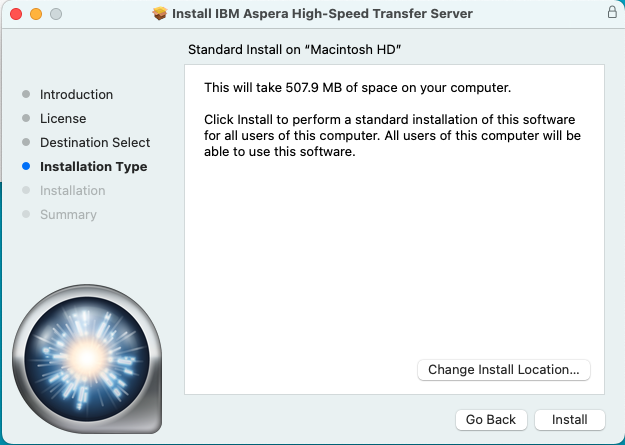
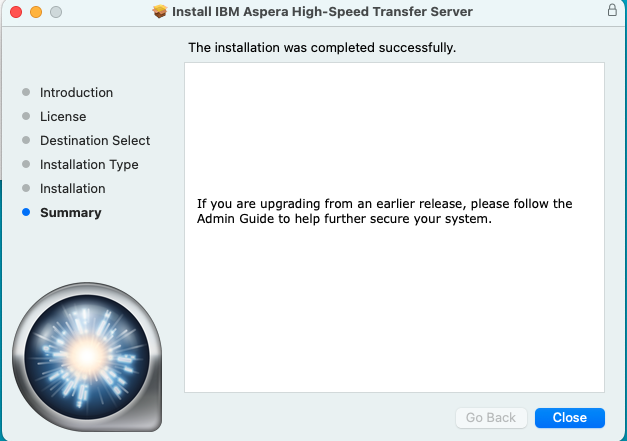
3. Installing HSTS on MAC
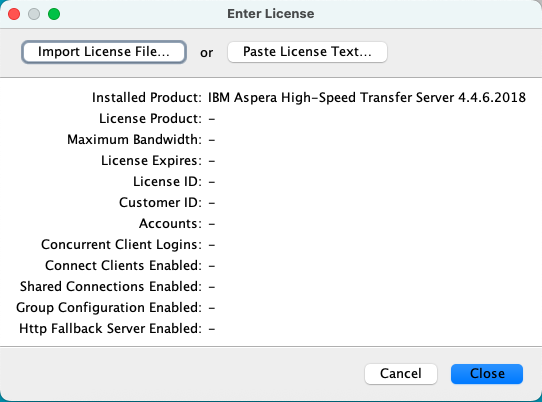
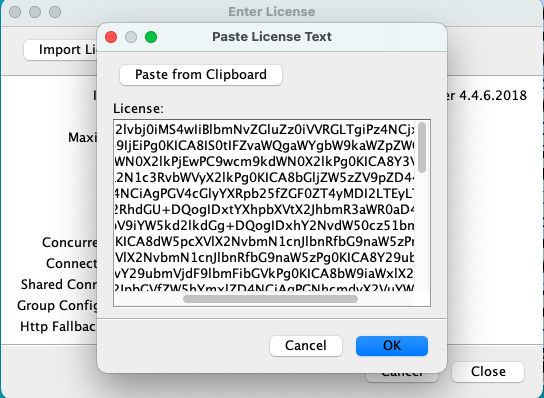
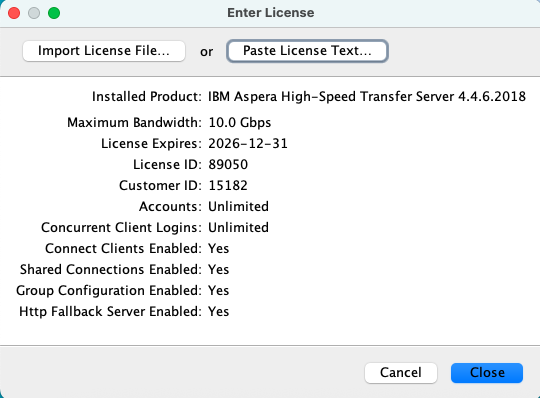
4. Install license
Obtain the temporary license.
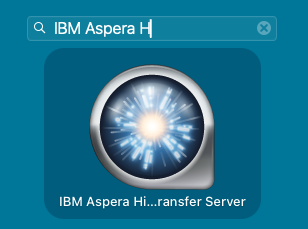
Run the below command to open IBM Aspera High Speed Transfer Server Application.
sudo --preserve-env /Applications/IBM\ Aspera\ High-Speed\ Transfer\ Server.app/Contents/MacOS/AsperaScpStub
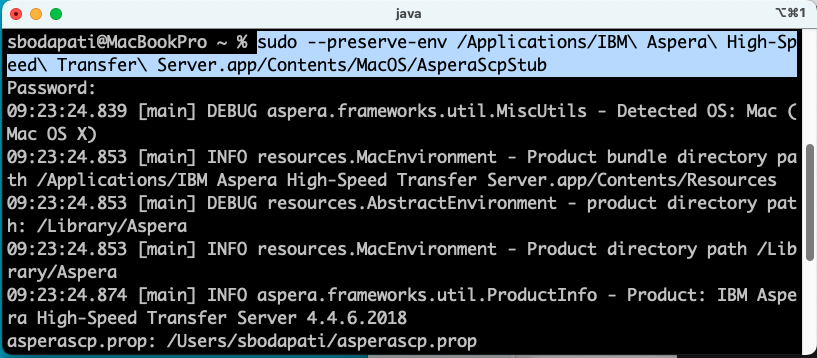
Close the Application, we will open it as normal user instead of root.
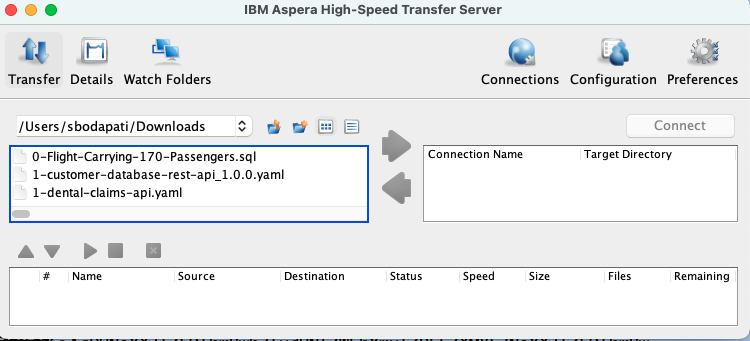
5. Running HSTS Application
Run Aspera High Speed Transfer Application as a normal use as below.
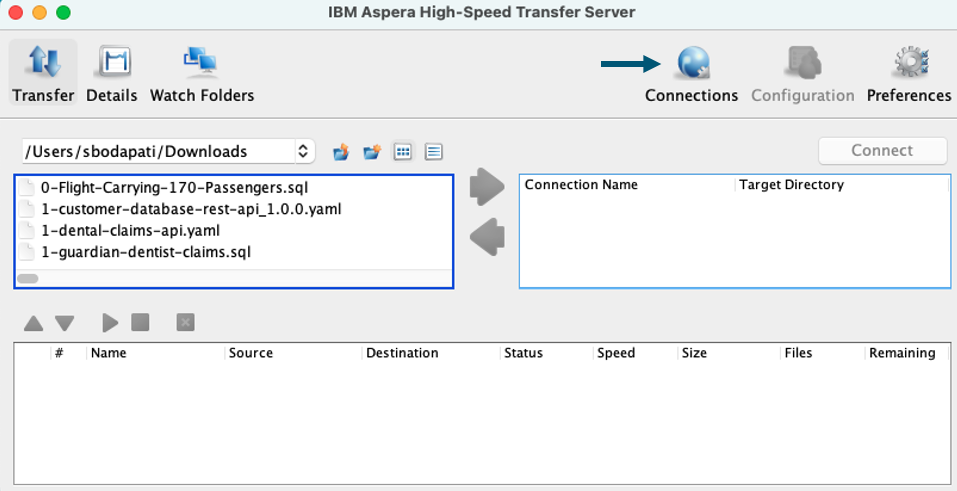
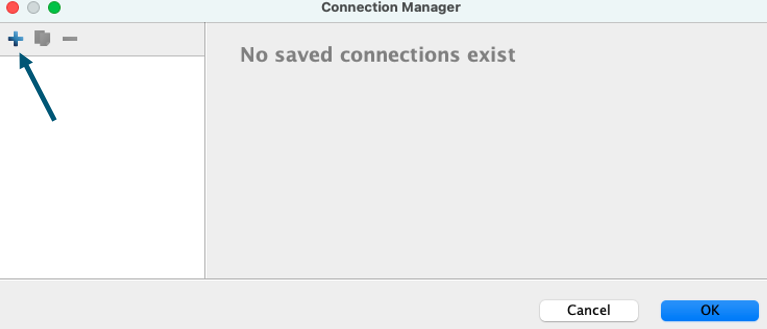
Click on Connections.
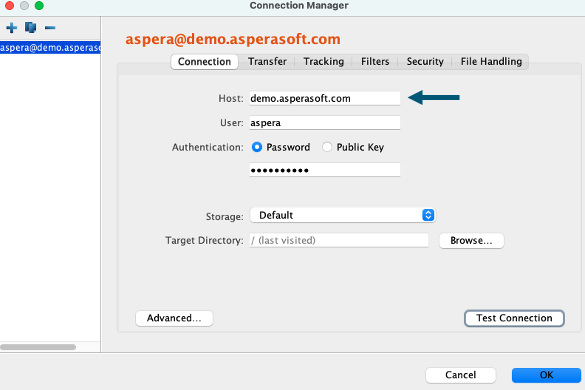
Host: demo.asperasoft.com
User: aspera
Password: demoaspera
Click “Test Connection”, and click “Ok”.
6. Upload File
Click on Preferences, and make sure the default speed is set to 1gbps.
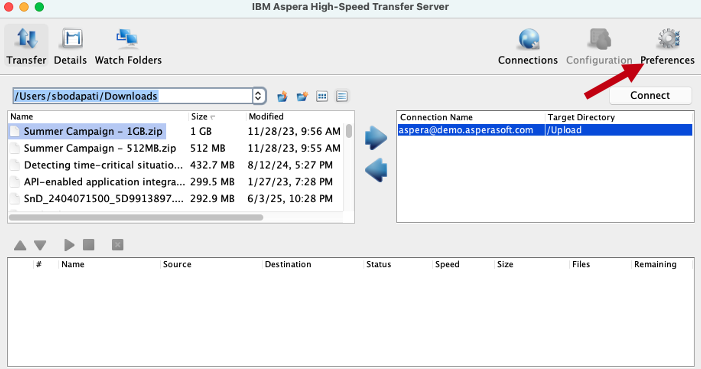
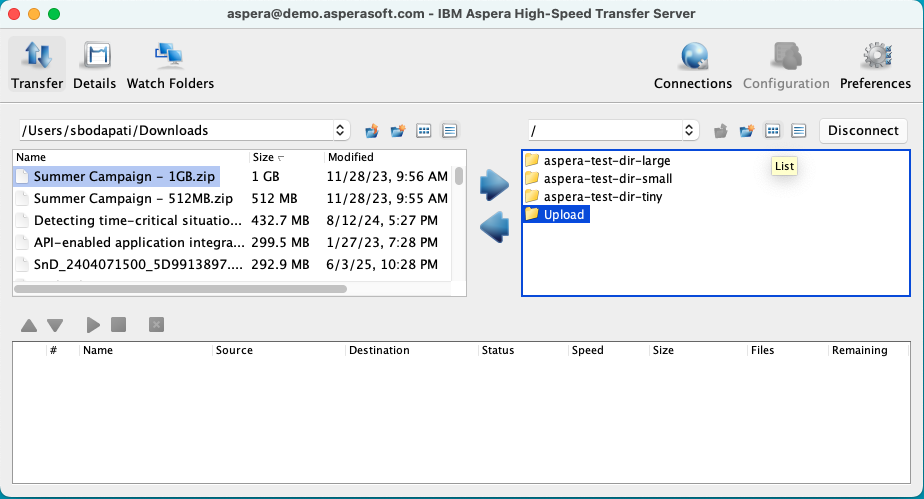
Double click on Upload directory.
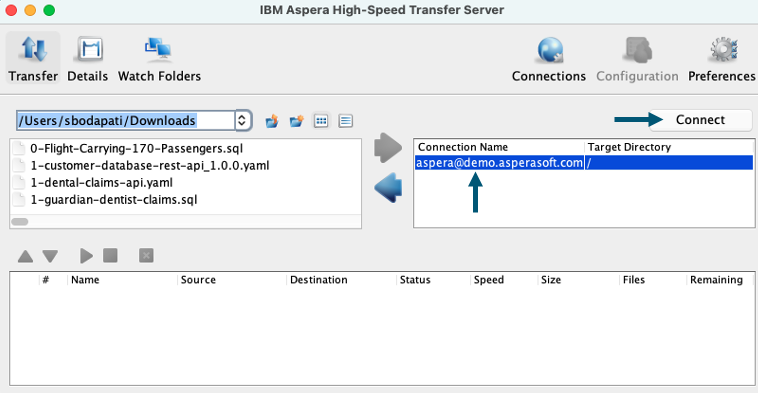
Select a large file from your desktop, and click on the right arrow.
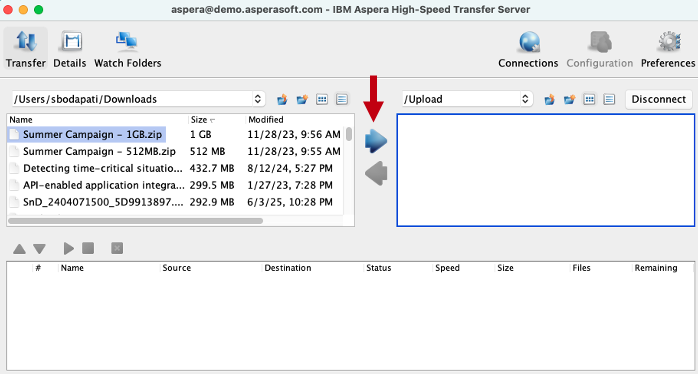
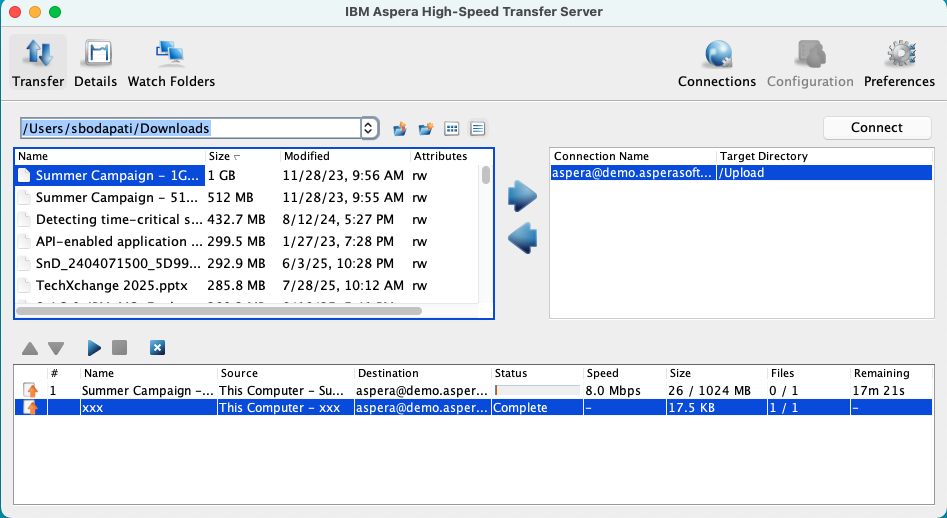
Watch the file being transferred to demo.asperasoft.com High Speed Transfer Server Upload folder.
7. Summary
You have investigated the process of installing IBM Aspera High Speed Transfer Server on your local desktop, activated the license, and subsequently uploaded a file to utilize the High Speed Transfer Server for file uploads to another High Speed Transfer Server.
!!! End of lab !!!
Notes:
Steps to uninstall and clean Aspera HSTS on MAC.
Uninstall Aspera HSTS from /Applications
Clean cache/saved configurations
sudo rm -rf /Library/Aspera/etc/sudoers.d/asperadaemon
Remove license – we will apply later
sudo rm /Library/Aspera/etc/aspera-license