Aspera-pot
IBM Aspera for desktop - Transfer files to HSTS Local Storage
Return to Aspera for desktop labs page
Table of Contents
- 1. Overview
- 2. Shutdown IBM Aspera Connect
- 3. Aspera for desktop
- 4. Transfer Activity
- 5. Aspera Console
- 6. Summary
1. Overview
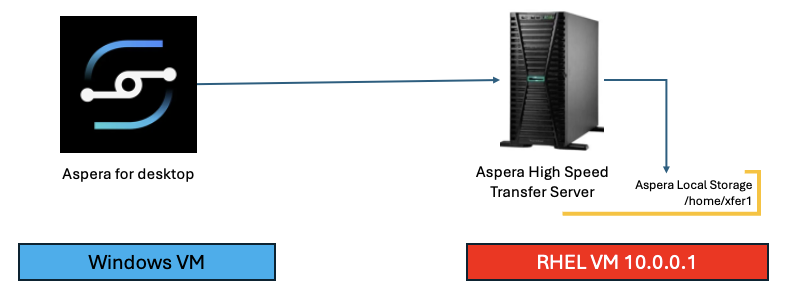
This is a very simple lab to transfer files from the IBM Aspera for desktop (new client) to the HSTS local storage folder /home/xfer1. In the VDI, IBM Aspera Desktop is already configured to connect to the HSTS server on aspera1 server (10.0.0.1).
Note: IBM Aspera for desktop is a ** NEW ** Aspera Product released in the 1st Quarter 2025. This doesn’t require IBM Aspera Connect.
2. Shutdown IBM Aspera Connect
Open Windows Command Prompt and terminate "IBM Aspera Connect". Most likely this process will NOT be running.

Run the below command to shutdown "IBM Aspera Connect".
taskkill /f /t /im asperaconnect.exe
If you, get “ERROR: The process “asperaconnect.exe” not found then please proceed below step #3.
3. Aspera for desktop
Open IBM Aspera for desktop from the Windows Desktop as below.
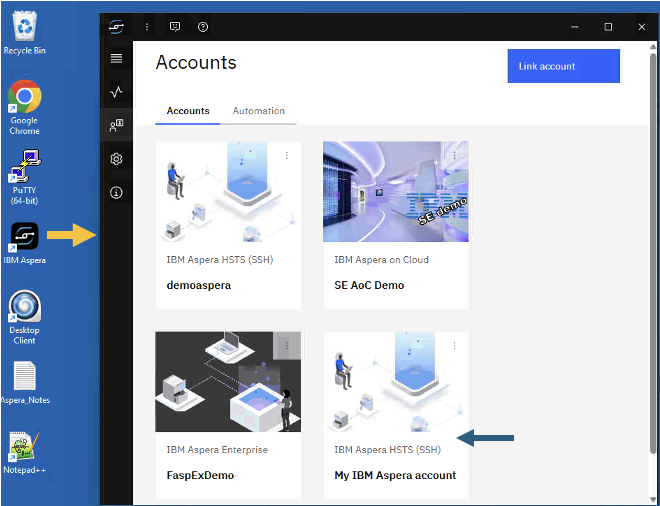
Optional: Explore Account Settings by clicking on the 3 dots next to the “My Aspera account”, and click “Edit” option.
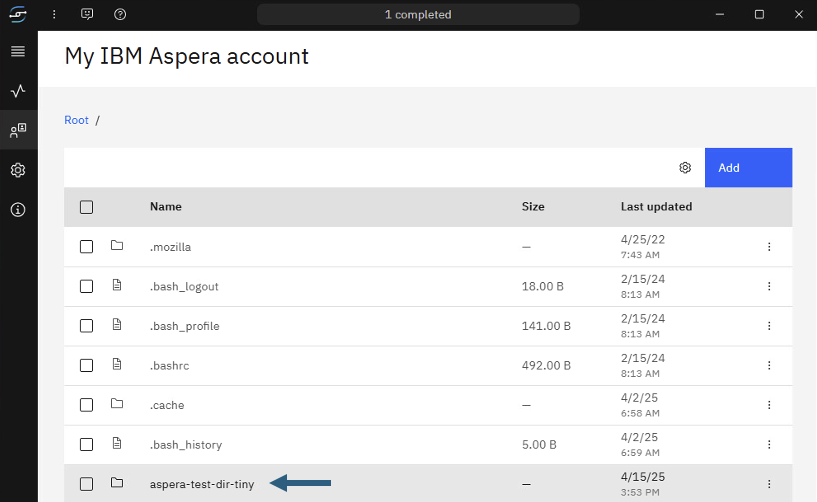
Double click on “My IBM Aspera account” tile. It will be connected to the HSTS server, and will show files under /home/xfer1 folder.
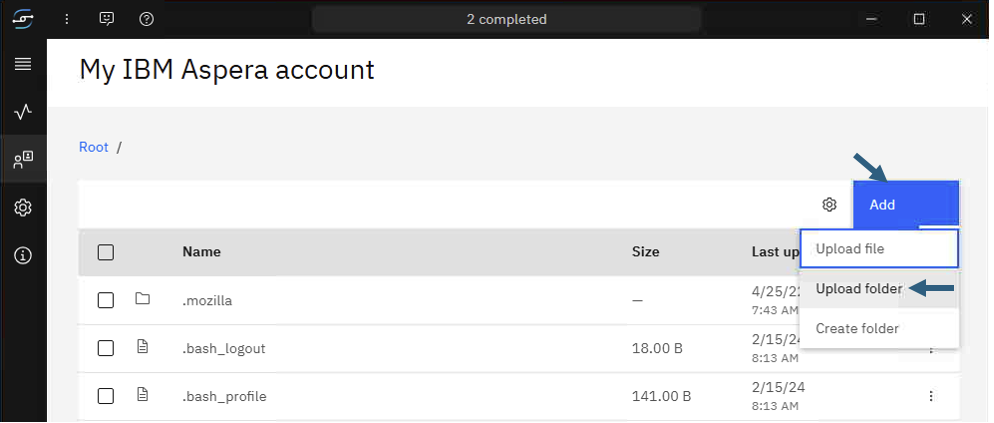
Click on <Add> Button, then click on <Upload folder> option.
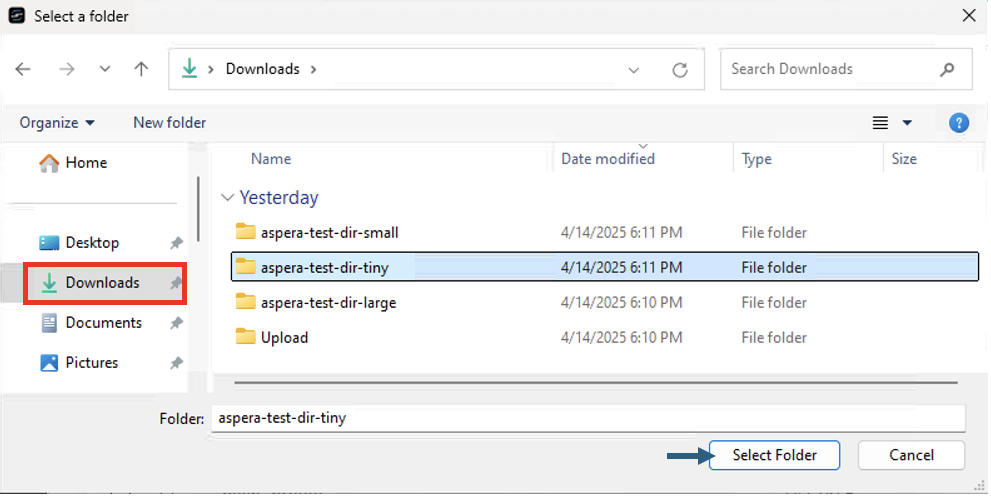
Click on the Downloads folder on the left, then select aspera-test-dir-tiny folder, and then click <Select folder> button.
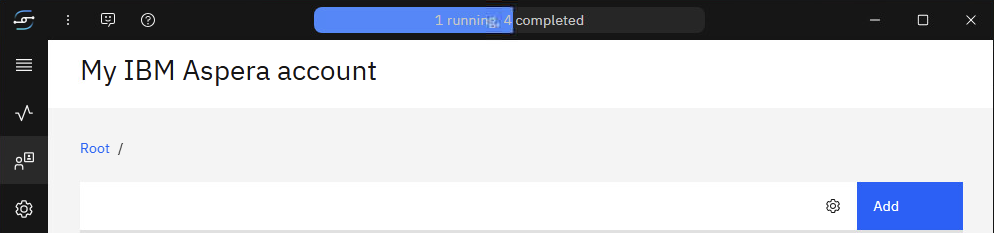
The File Upload should be initiated and you can watch the upload status as below.
The folder should be uploaded by now as below.
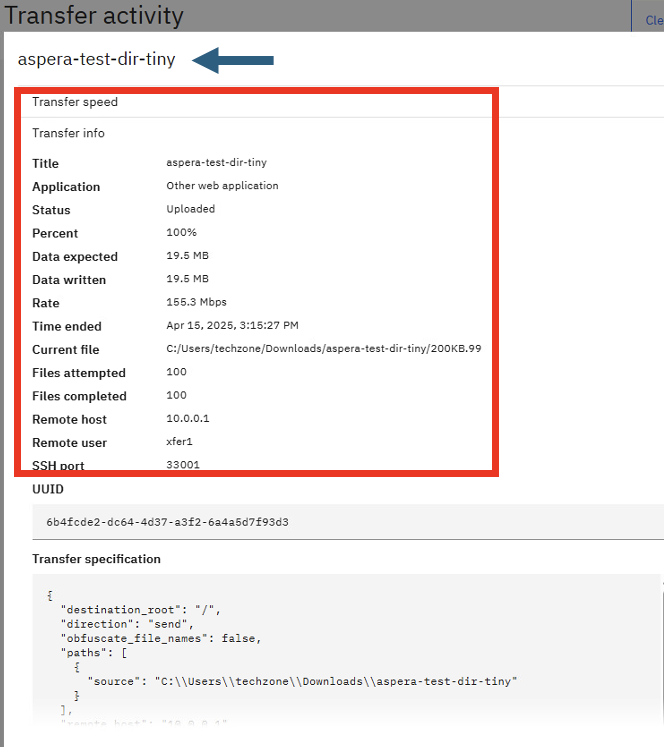
4. Transfer Activity
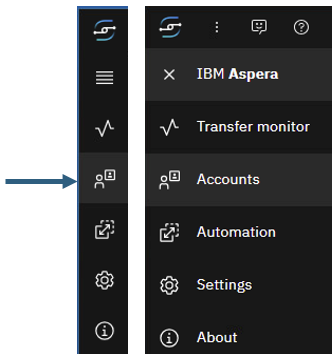
Now switch to “Transfer Activity” by clicking the “Transfer Monitor” Button on the left (as below).
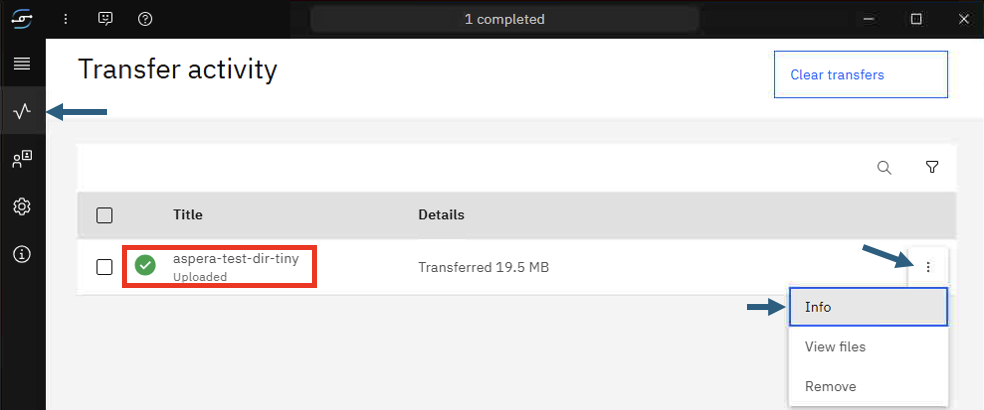
That should show detailed transfer status.
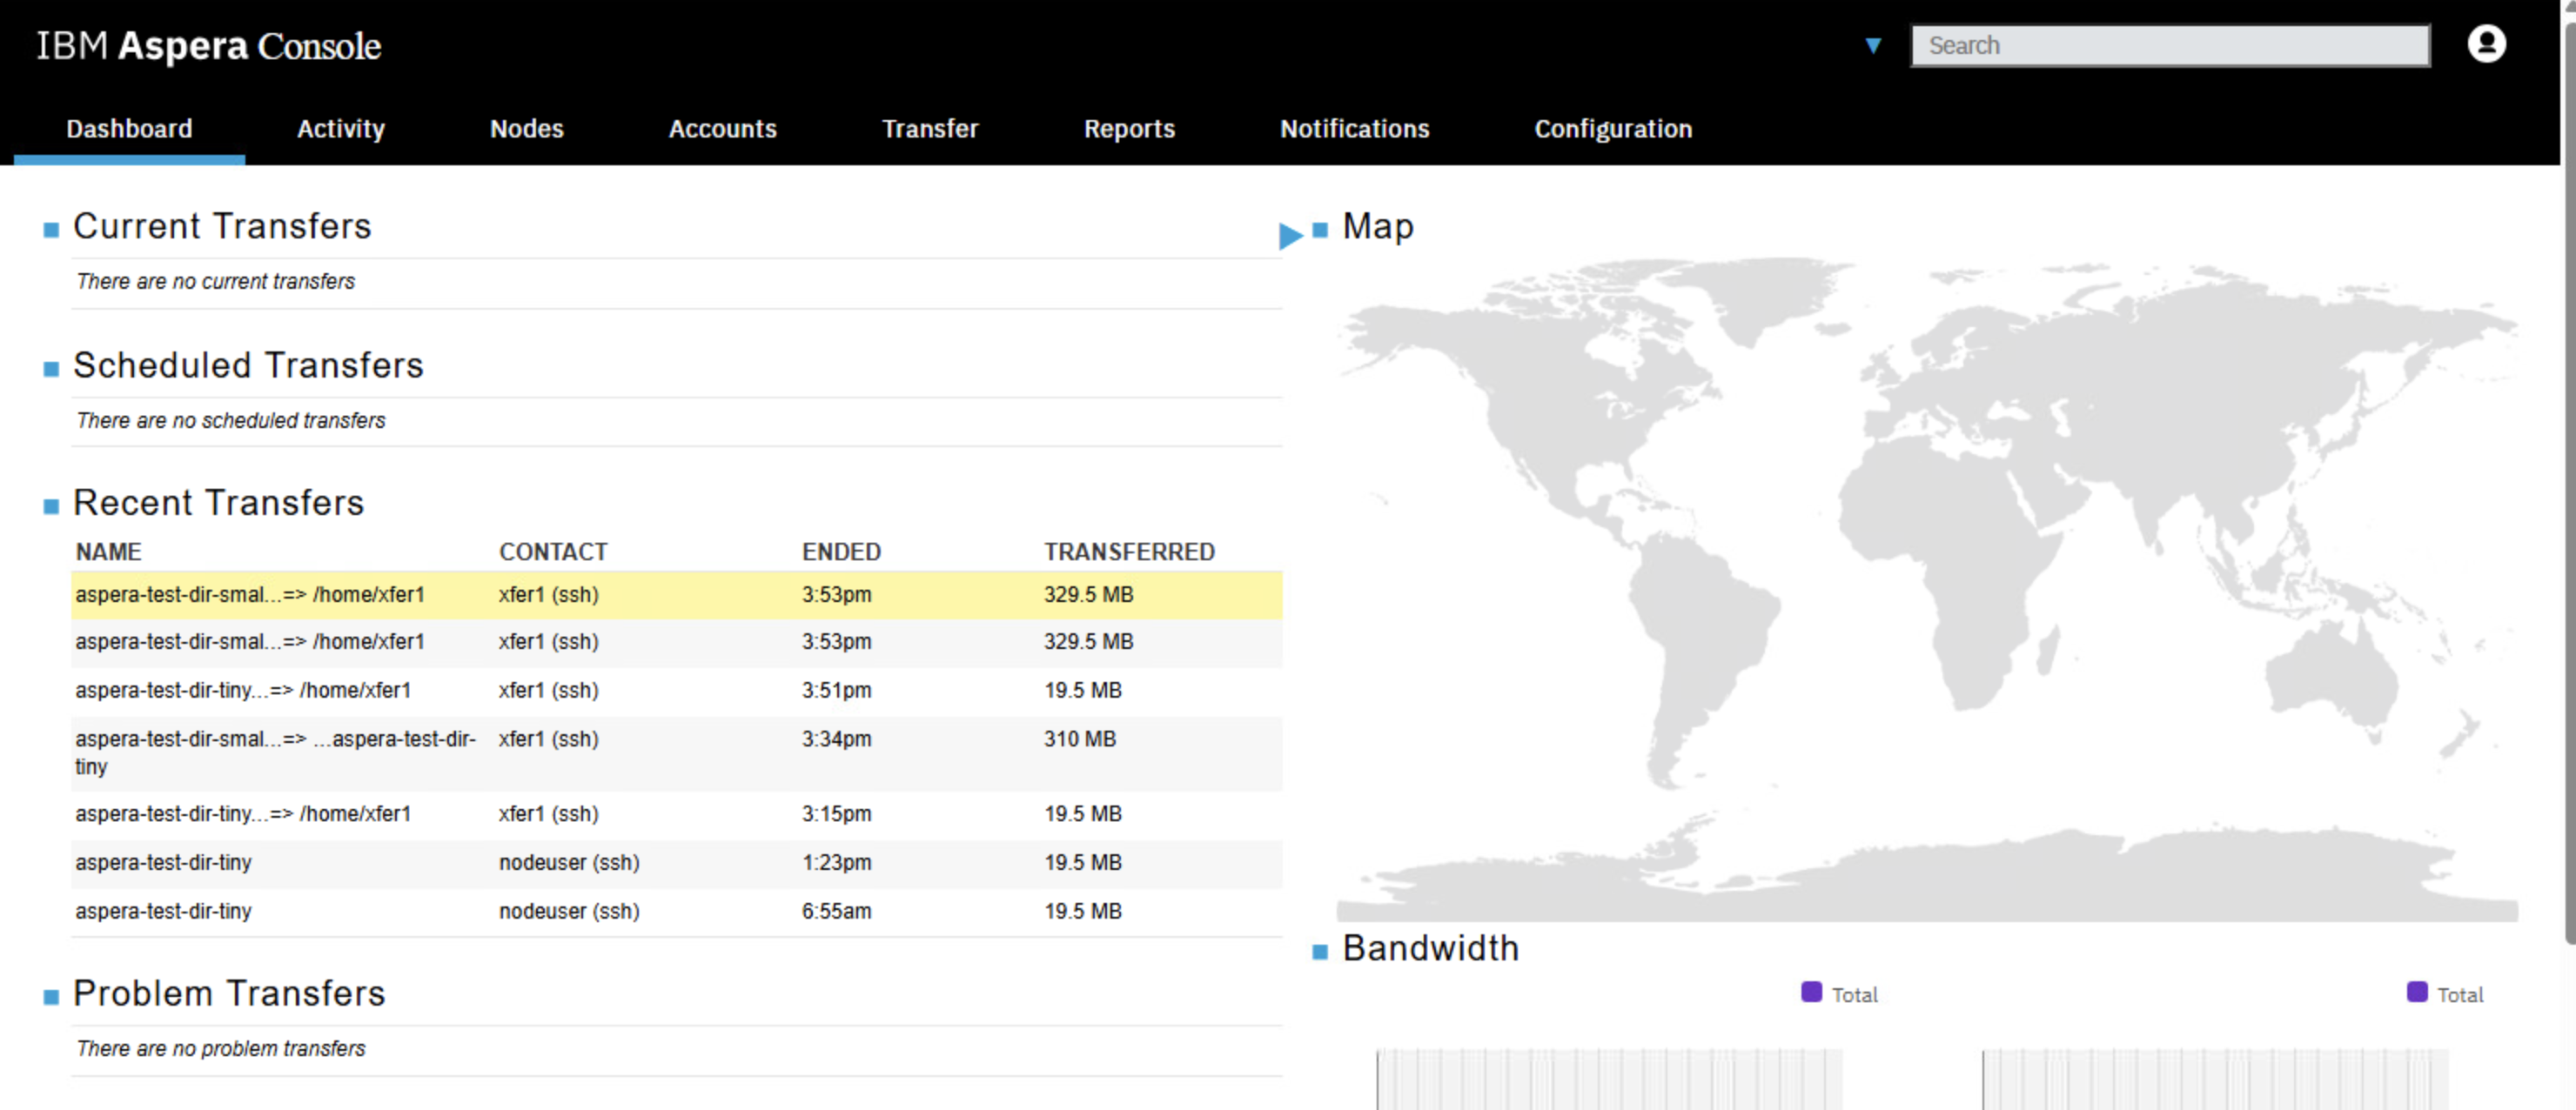
5. Aspera Console (Optional)
You can also check the Transfer Activity from Aspera Console User Interface.
Open “IBM Aspera Console” from the Google Chrome Bookmark bar. Login with the credentials provided. You should see the transfer activity being recorded as below. Explore the activity.
6. Summary
You have explored the ** NEW ** IBM Aspera Desktop to transfer files from the local computer to Aspera High Speed Transfer’s Local Storage.