Aspera-pot
Aspera Command LIne - ascli
Return to Aspera Command Line labs page
Table of Contents
- 1. Overview
- 2. Using ascli with Node
- 3. Using ascli with Aspera Shares
- 4. Using ascli with Aspera Faspex5
- 5. Summary
1. Overview
This lab will go over how ot use ascli command line tool. ascli is a command line tool to interfact with Aspera HSTS, Aspera FaspEx, Aspera Shares, Aspera on Cloud, and more. You can use ascli to upload/download files.
Reference: https://github.com/IBM/aspera-cli
Note: Run the below commands from the Windows VM > Command Prompt.
ascli --version
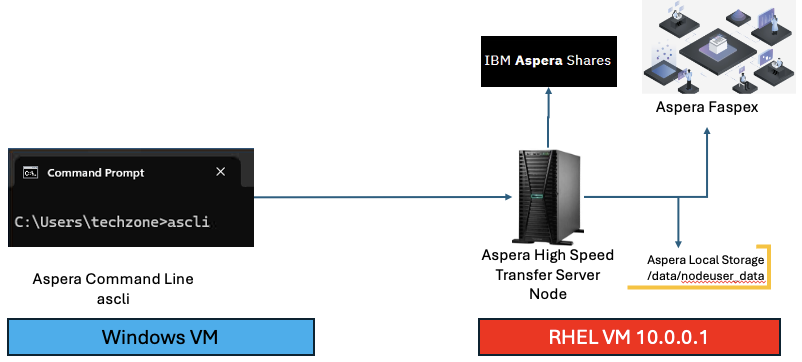
2. Using ascli with Node
Upload a file
ascli -N node --url=https://10.0.0.1:9092 --username=asperanodeuser --password=WelcometoAspera@2025 up ‘C:\Users\techzone\Downloads\aspera-test-dir-tiny\200KB.18’ --insecure=yes

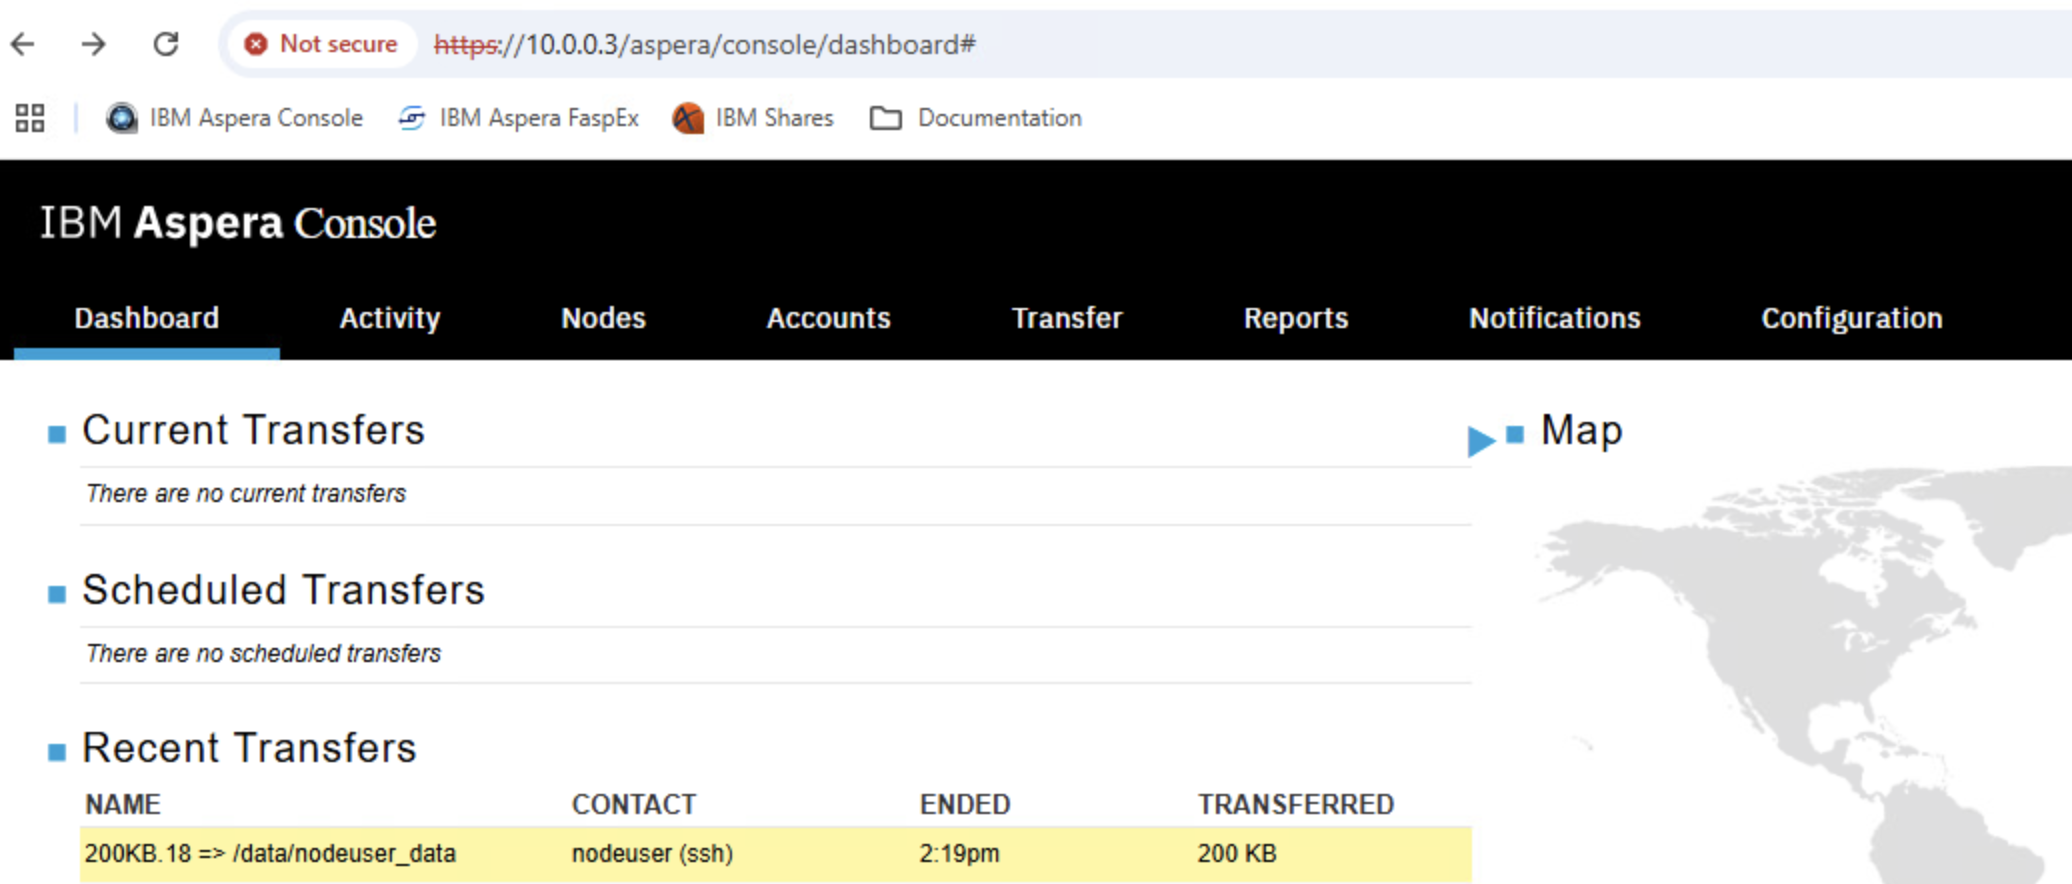
Aspera Console to see the transfers.
From the Chrome bookmark bar, open Aspera Console and login with the admin credentials.
3. Using ascli with Aspera Shares
Browsing Shared Folders.
ascli shares repo browse / --url=https://10.0.0.1 --username=admin --password=WelcometoAspera@2025 --insecure=yes
Output should looks like this.

Upload to Shared Folder demo-share-1
ascli shares repository upload --to-folder="demo-share-1/" C:\Users\techzone\Downloads\aspera-test-dir-small\10MB.1 --url=https://10.0.0.1/ --username=admin --password=WelcometoAspera@2025 --insecure=yes

Browse demo-share-1/
ascli shares repo browse demo-share-1/ --url=https://10.0.0.1 --username=admin --password=WelcometoAspera@2025 --insecure=yes

Aspera Console to see the transfers.
From the Chrome bookmark bar, open Aspera Console and login with the admin credentials.
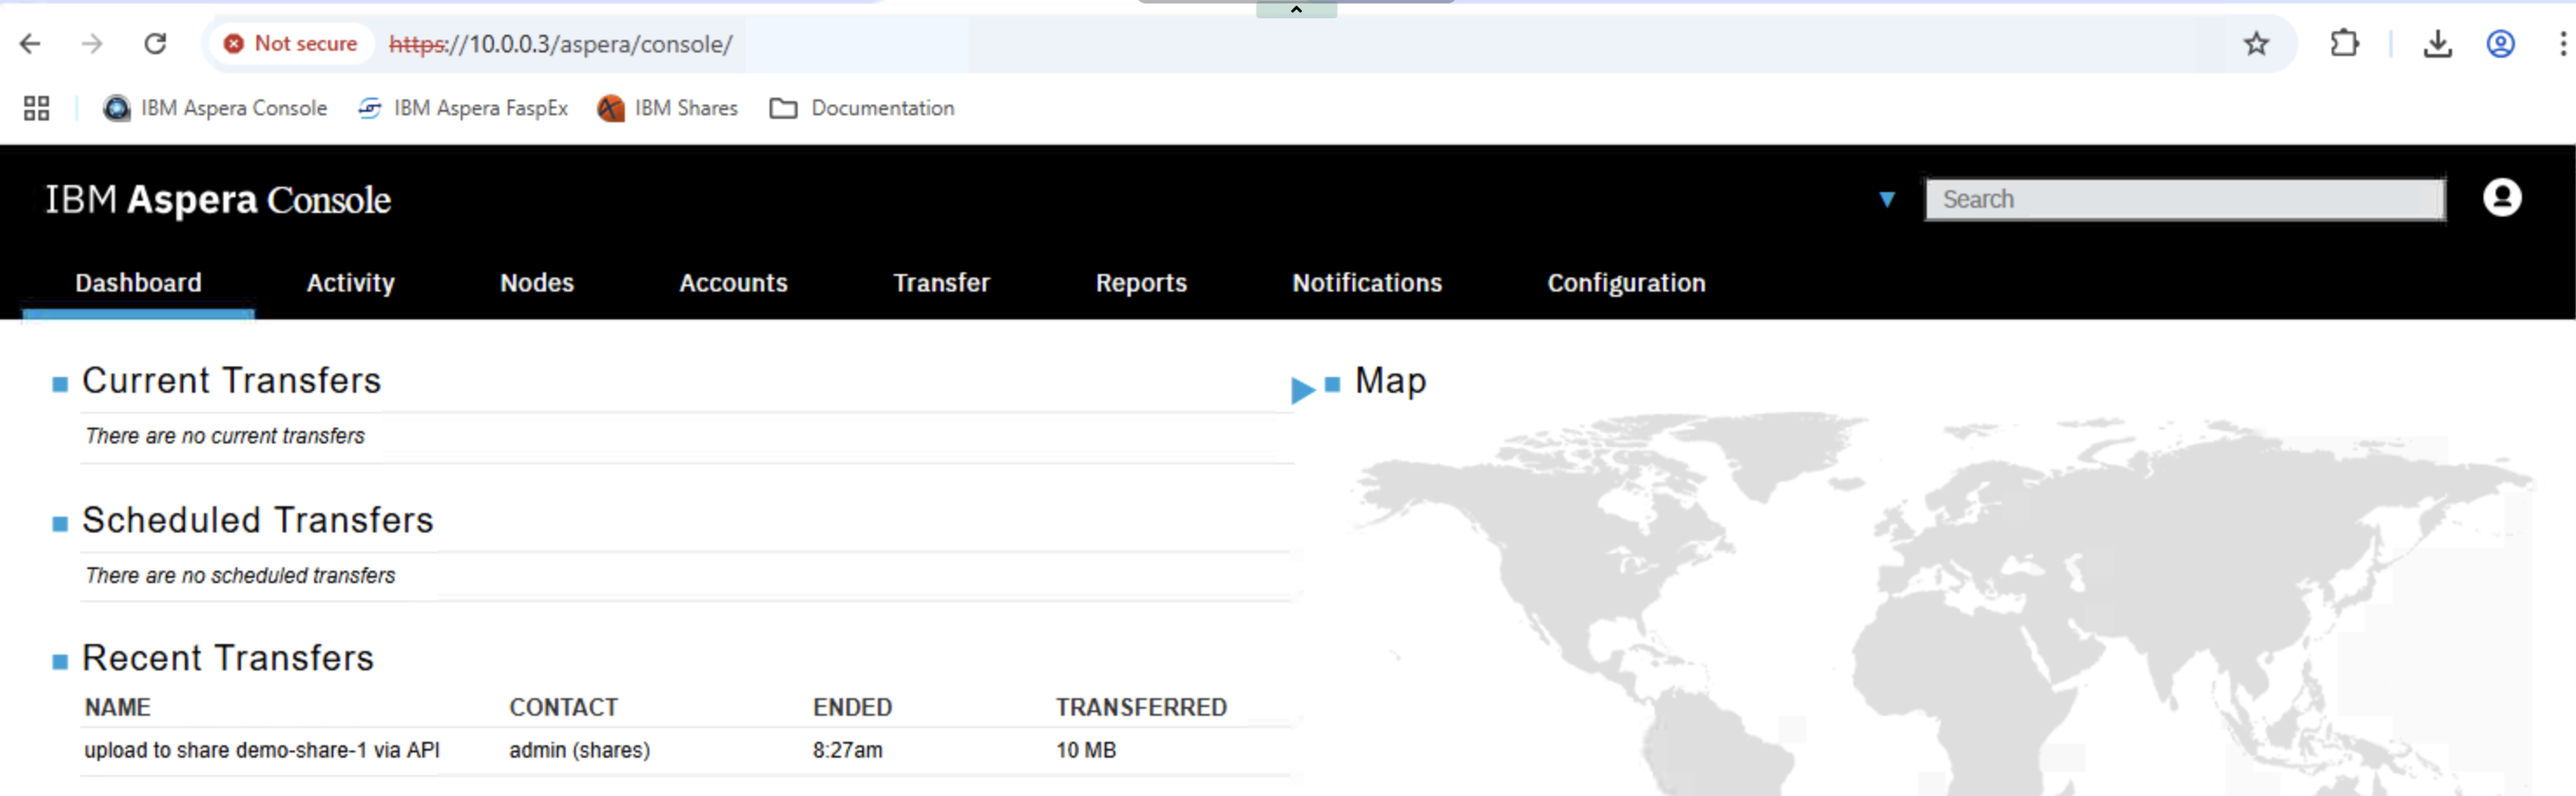
You should see the transfer status as above. Click on the transfer to see additional details about the transfer.
4. Using ascli with Aspera Faspex5
Replace your-personal-email with your email id.

ascli faspex5 package send @json:'{"title":"faspex5 test1", "recipients":["your-personal-email"]}' C:\Users\techzone\Downloads\aspera-test-dir-tiny\200KB.1

ascli faspex5 package list

Receive the package
ascli faspex5 package receive 8

C:\users\techzone\dir PKG*
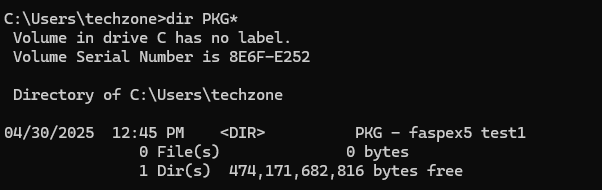
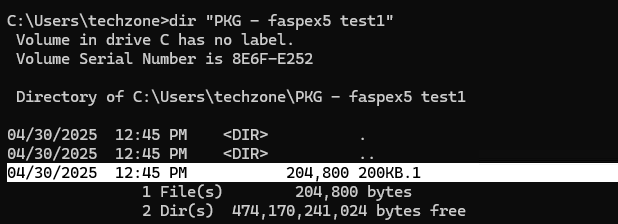
C:\users\techzone\dir "PKG - faspex5 test1"
5. Summary
You have explored ascli command line tool to transfer files & packages with Aspera.
!!! End of lab !!!
Return to Aspera Command Line labs page
6. ** NOTES **
Presetting faspex5
From the Faspex5 console, generate ClientID, and Secret.
Admin App > Configurations > API clients > Create New
Name: ascli.
Enable JWT grant type: On
ClientID, Secret will be generated, you will need them next.
Windows Command Prompt:
ascli conf wiz https://10.0.0.2 faspex5 –show-secrets=yes –username=ibmcp4ipot@gmail.com –client-id=xxx –client-secret=xxxx –insecure-yes
The above will generate a private key and public key.
Copy the Public Key,
cd C:\Users\techzone\.aspera\ascli
cd C:\Users\techzone\.aspera\ascli> type my_private_key.pem.pub
Copy the full certificate.
Paste the Public key.
Open Faspex5 Console. Navigate to your profile (top right of the screen), scroll down to “Public key in PEM format”, and paste the Public key.